Refrigerator Ice Dispenser Not Working? Fixes for Bend Homes
You press the paddle and hear the motor — or you hear nothing at all. The ice bin is full, yet nothing drops into your glass. This guide explains how the dispenser actually works. It walks through the quick checks that fix most failures in minutes. It also tells you when a Bend or Redmond technician should take over.
Quick Answer: Where to Start When the Dispenser Fails
First, open the freezer and look at the ice bin. If the bin is empty or nearly empty, your problem is ice production. That is not dispensing, and this guide is not the right one. Our companion guide covers the ice maker not working in Bend homes. It details water supply, temperature, and inlet valve problems. Bookmark this page and come back after the bin fills.
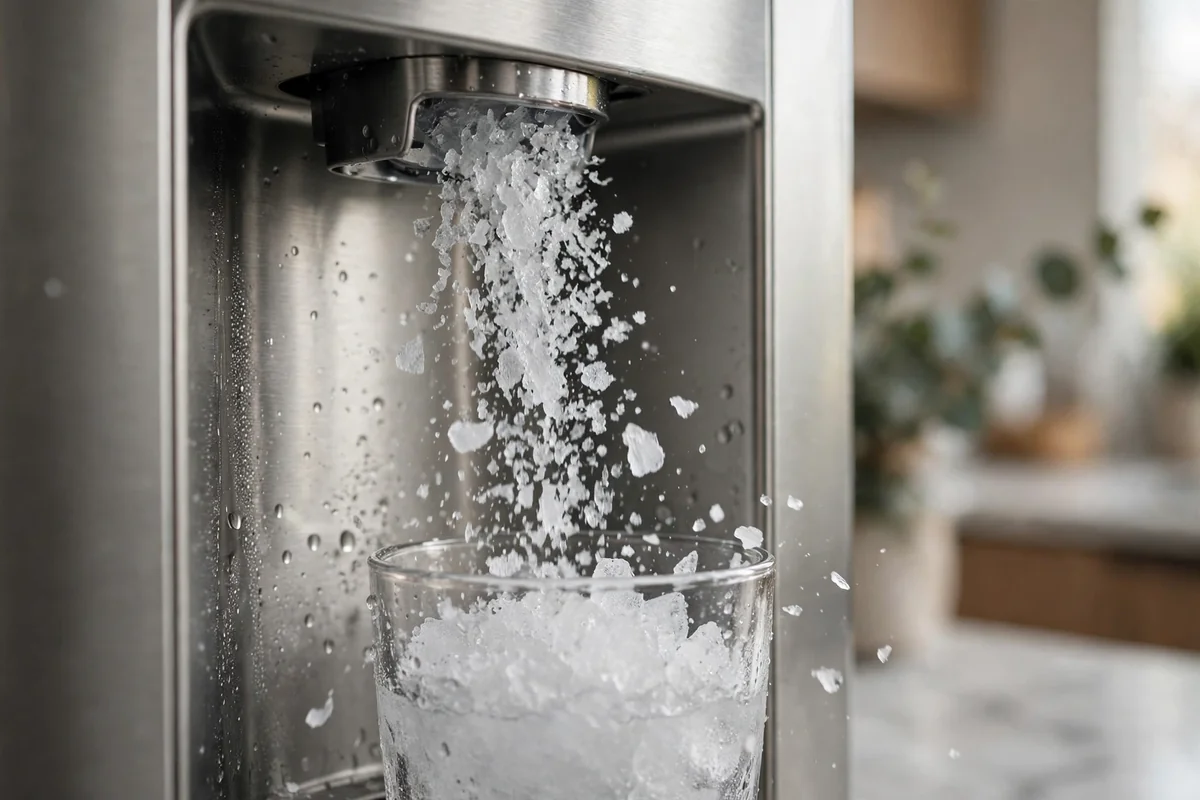
If the bin holds plenty of ice but the paddle gives you nothing, you are in the right place. A refrigerator ice dispenser not working with a full bin is almost always a delivery problem. Possible faults: the auger, the delivery chute, the paddle switch, or the door switch. Water supply, the filter, and the freezer temperature rarely cause this particular failure.
Also check one split symptom early: does the water dispenser work normally? If yes, your household water supply is fine and the fault is on the ice path alone. If the water side fails too, read our guide on the refrigerator water dispenser not working. Together, the two guides cover every dispenser failure. We find the quick checks in the next section resolve the majority of ice-only failures in under five minutes.
How Your Ice Dispenser Actually Works
Understanding the delivery path makes diagnosis much faster. Every step below has to work in sequence, so finding which step breaks tells you the part to inspect. Here are the six parts involved, in the order they act.
Ice Bin & Auger
The bin stores finished cubes. Running through it is the auger — a long spiral shaft. When you press the paddle, the auger rotates and pushes ice toward the front of the bin. Clumped or misaligned ice here stops everything downstream.
Auger Motor
Behind or beneath the bin sits the auger motor, a small electric motor that turns the auger shaft. A motor that hums but never turns is likely jammed. A motor that stays silent may have no power, or it may be dead.
Delivery Chute & Flapper
Ice exits the bin through a short chute in the freezer door. At its end sits the flapper. It is a small spring door that opens for dispensing, then snaps shut to keep warm air out. A stuck flapper lets moist air in and freezes the chute solid.
Dispenser Paddle Switch
The paddle or pad on the door is not decorative — pressing it closes an electrical switch behind the panel. The switch sends power to the auger motor and opens the chute flapper. A worn switch clicks without making contact, so nothing starts.
Freezer Door Switch
For safety, the dispenser shuts off while the freezer door is open. The door switch tells the control board the door is closed, and only then does pressing the paddle do anything. A failed switch permanently locks out dispensing.
Controls & Solenoid
The control panel runs the show: lock mode, cubed-or-crushed selection, and timing. A small solenoid shifts the ice guide to crush cubes for crushed mode. When the panel is locked or the board fails, the motor never gets its signal.
The delivery chain, step by step: you press the paddle. The switch signals the board. The board starts the auger motor. The auger pushes ice into the chute. The flapper opens and drops ice into your glass. Break any link and nothing comes out.
5-Minute Quick Checks Before Anything Else
Work through these four checks in order. Each one takes under a minute, needs no tools, and is a surprisingly common cause of a dead dispenser. These steps fix most cases of a refrigerator ice dispenser not working without any tools at all. Do not skip ahead to parts and motors until these are confirmed.
Turn Off the Dispenser Lock
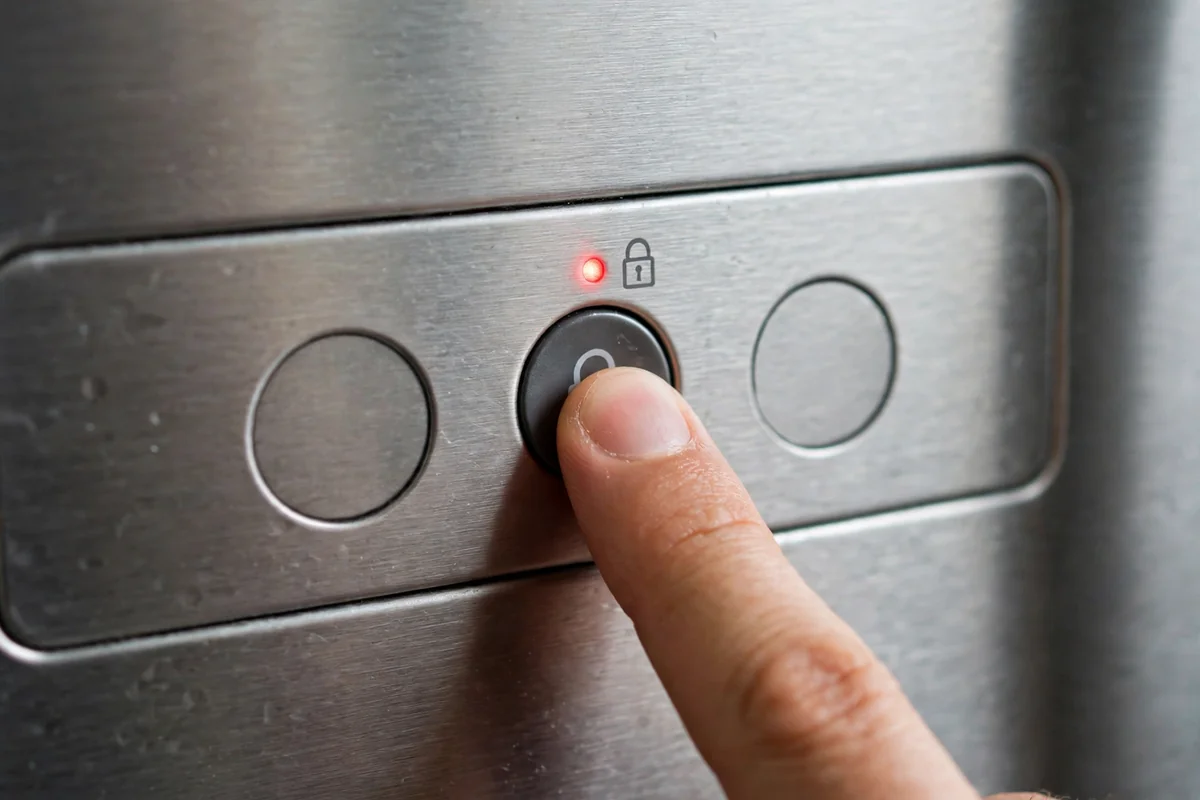
Most modern refrigerators have a control lock or child lock for the dispenser. It is usually a small padlock icon on the control panel. Sometimes you activate it by holding a button for three seconds. When the lock is on, pressing the paddle does nothing. It is easy to enable accidentally while wiping down the panel.
Look at the panel for a lit lock icon or the word Locked. Hold the lock button until the indicator goes out. Then press the paddle again. Check the mode selection too: some models have a dispenser-off setting that disables both ice and water. Set it back to cubed ice and test.
Lock locations vary by brand. On many Samsung models the lock is a dedicated “Lock” touch button. On LG it is often labeled “Lock” under the dispenser options. On GE and Whirlpool models it may be a small padlock icon. Hold that icon for three seconds. If you cannot find it, search your owner’s manual for the term control lock. The dispenser section usually shows the exact button with a diagram.
Close the Freezer Doors Fully
The freezer door switch disables the dispenser whenever a door sits open, as a safety measure. A door that looks closed may still sit slightly ajar. A protruding pizza box can block it. So can a warped bin or an ice chunk wedged at the gasket. Push each door firmly until you hear the seal catch, then try the paddle again.
Also confirm the ice bin itself is fully seated. If you recently removed the bin to dump old ice, it may not have reseated. The dispenser will not work until the bin clicks back into place. Slide it in firmly on its rails and listen for the click.
Press the Paddle Firmly and Fully
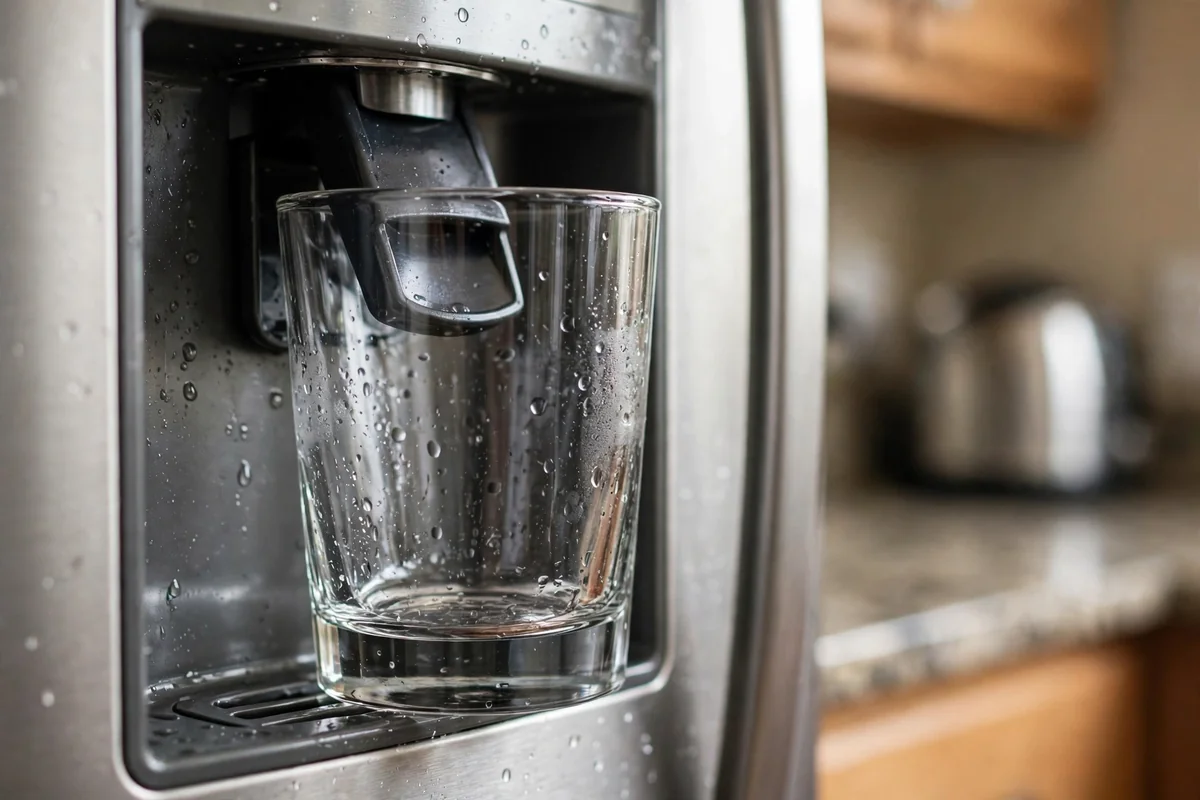
The paddle has to travel far enough to close the switch behind it. A light tap with the rim of a small cup may not be enough. Press a sturdy glass flat against the paddle. Hold it for a full three to five seconds. Many dispenser switches need a half-second of continuous contact before the board starts the motor.
Listen while you press. A healthy start sounds like the auger motor beginning to turn inside the freezer. If you hear the motor but get no ice, the problem is downstream. It could be a jam, a misaligned bin, or a blocked chute. If you hear nothing at all, the problem is upstream: lock, door switch, paddle switch, or wiring.
Confirm Ice Is Actually in the Bin
It sounds obvious, but check the bin directly — not the ice maker arm, not the panel indicator. Pull the bin out and look. A low bin can leave the auger spinning in air. That feels exactly like a broken dispenser. If the bin is low, give the ice maker a few hours to catch up and test again.
While the bin is out, glance at the ice itself. A solid fused mass instead of loose cubes is a clear sign. The bin needs clearing before anything else will work. That is the subject of the next section, and it is the single most common dispenser complaint we see.
Jammed and Clumped Ice: Why Cubes Fuse Together
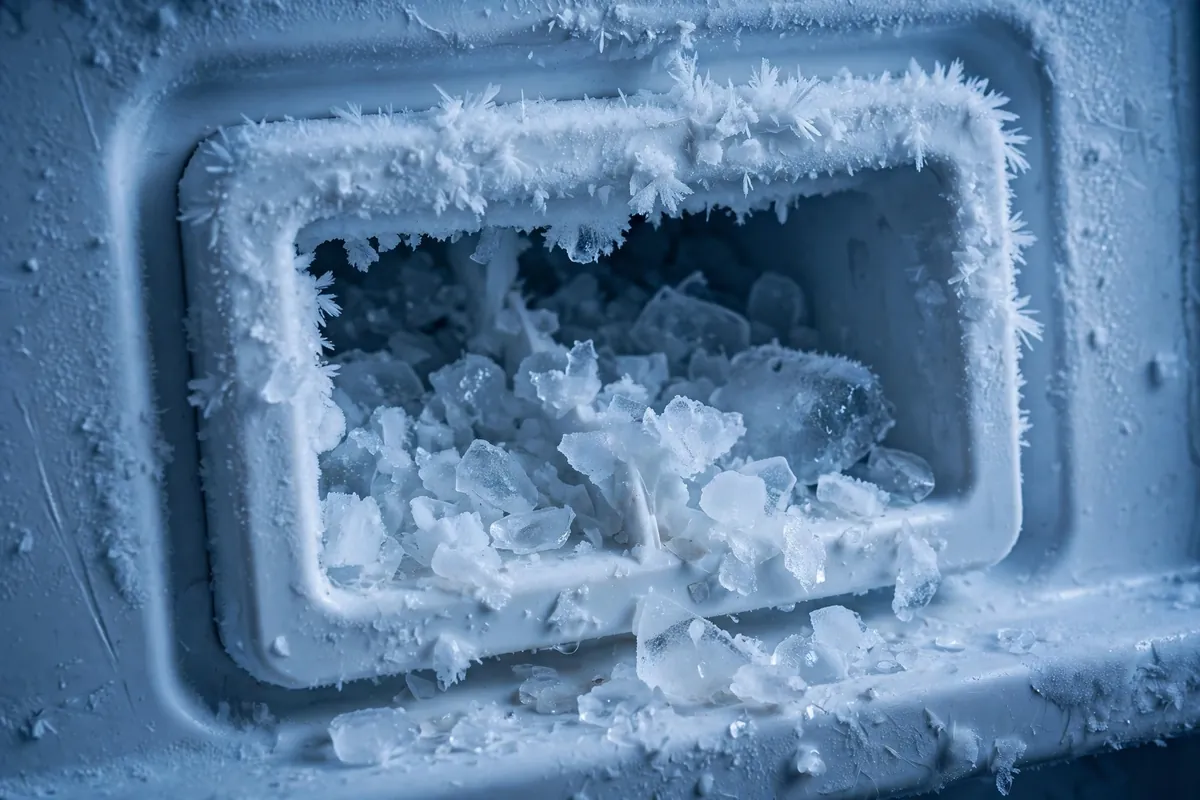
The most common reason an ice dispenser quits is not a failed part. It is ice that has fused into a solid mass. The auger cannot push a solid block, and small fragments wedge into the chute and freeze there. If pressing the paddle produces a humming motor but no ice, start here.
Why Clumps Form in Bend Homes
Cubes fuse when they partially melt and refreeze together. Three triggers are common in Central Oregon. First, infrequent use: a bin of ice sitting untouched for weeks slowly bonds into one mass. Second homes and vacation cabins around Bend, Redmond, and Sunriver sit empty for weeks. They are classic cases. You arrive for the weekend and the dispenser barely works.
Second, temperature swings. High-desert weather brings big day-night swings. Every long freezer-door opening lets cubes soften slightly. A defrost hiccup does the same, and softened cubes stick together. Third, power blips: a brief outage melts the bin’s surface layer, and the refreeze welds cubes together overnight. Bend’s wind-storm outages make this one familiar locally.
A Stuck Chute Flapper Makes It Worse
The chute flapper is a small spring door at the bottom of the delivery chute. It opens when ice drops through, then snaps shut to seal out warm room air. When ice fragments jam it open — even slightly — warm, moist air flows in around the clock. That moisture freezes inside the chute, building a plug of frost that blocks every future drop.
Watch for these signs of a flapper problem. Frost or wet drips appear around the dispenser recess. The chute may look clear, yet deliver nothing. Fix the jam, then check the flapper’s movement. A flapper that will not snap shut on its own has a fault. It may be a broken spring or a warped seal. Either one needs a part replacement.
How to Clear It Safely
- Pull the ice bin out. Set it in the sink. If the cubes have fused into a block, let the bin sit at room temperature. Wait 20 to 30 minutes, then dump the whole mass. Do not keep half-melted old ice — it refreezes into clumps again within days.
- Break it up by hand. For partially clumped cubes, shake the bin firmly or flex it gently to break bridges apart. Use your hands or a wooden spoon. Never use a knife, screwdriver, or ice pick. Sharp tools puncture bin coatings and chute liners. Scratches become frost-catchers forever.
- Clear the chute. With the bin out, look up into the delivery chute from the door recess. Dislodge stuck fragments with a warm, damp cloth wrapped around your finger or a wooden spoon handle. Wipe, then dry thoroughly with a dry cloth — leftover moisture refreezes into a new plug.
- Reseat the bin firmly. Slide it back onto its rails until it clicks. A bin that is not fully seated will not engage the auger drive. That looks identical to a dead motor.
Prevention rule: empty the bin completely every two to three weeks if your household uses ice slowly. Fresh, loose cubes dispense freely — old, fused cubes jam. If the bin sits unused because you have a separate garage freezer, turn the ice maker off between uses.
Ice Bin and Auger Problems
With the bin clear of clumps and the chute open, look at mechanical causes next. Check how the bin seats and how the auger aligns. Also inspect the small parts that drive both. These are the most hands-on fixes in this guide, but they are still firmly DIY-friendly.

The Bin Is Not Seated Correctly
The auger motor drives the auger through a square or hex coupling at the back of the bin. If the bin sits even slightly off its rails, the coupling misses. The motor then spins freely. You hear it run, but no ice moves. This is the usual story after dumping old ice. Someone removes the bin and slides it back in a hurry.
Remove the bin completely. Check that nothing blocks the rails — a stray cube or a bag corner. Slide it back with firm, even pressure until you feel and hear it click. Test the paddle immediately. If ice now flows, you are done — nothing is broken.
Learn what a seated bin sounds like. With the freezer door open, press the paddle and listen at the bin. A seated bin produces a low, labored turning sound as the auger moves ice. An unseated bin produces a higher, freer whir — the motor spinning with no load. Once you know the difference, you can diagnose a seating problem in seconds the next time it happens.
Auger Misalignment and a Broken Helix
On many models the auger has to sit in a particular rotational position for the bin to seat. If the bin refuses to click in, remove it. Rotate the auger shaft inside the bin in small turns. Use a quarter turn at a time, and retry seating after each adjustment. Forcing the bin is how rails and couplings break.
While the bin is out, inspect the auger itself. The spiral “helix” blades should be straight and firmly attached to the shaft. A cracked blade means the part has failed mechanically. So does a loose helix that spins independently of the shaft, or a sheared drive pin. Replacement bins and auger kits are model-specific — order by your full model number, not by brand alone. If the part looks fine but the auger motor hums without turning under load, the motor may be weak. Confirming that is a technician job.
Cubed-vs-Crushed Solenoid
Here is a useful diagnostic trick. If the dispenser works in one mode, the auger motor is fine. Say crushed ice flows but cubed does not, or vice versa. The rest of the delivery chain is fine too. The fault is the cubed-crushed solenoid. It is a small electromagnet that shifts the ice guide between whole cubes and the crusher blades.
Test both modes on the control panel. If one works and the other does not, reseat the bin first. A misaligned bin can jam the crusher arms. Then test again. A solenoid that still does not click or shift needs replacement. It is an inexpensive part. But on many models it sits behind panels. One wrong move cracks plastic trim, so it is a fair case for a service visit.
Do one more check before concluding the solenoid is dead. Close the freezer door and quiet the kitchen. Then listen for its click. The solenoid fires a fraction of a second before the auger motor starts. If you hear the click but the mode still does not change, the electromagnet works. The mechanical linkage it pulls is stuck instead. That is a different, usually simpler fix involving the ice guide arm.
Auger runs but nothing comes out — decision flow: bin fully seated? → chute clear of fragments? → cubes loose, not fused? If all three answers are yes, keep going. The motor still spins freely with no ice moving. Suspect a sheared drive pin, a stripped coupling, or a failed solenoid. A technician can identify and replace those parts in one visit.
The Freezer Door Switch Can Disable Dispensing
Refrigerators cut power to the dispenser whenever a freezer door is open. That prevents ice from dropping onto an open door and makes the mechanism safer to work around. The control board learns the door position from the door switch. That switch is a small plunger or magnetic sensor on the door frame.
How to Test the Switch in 30 Seconds
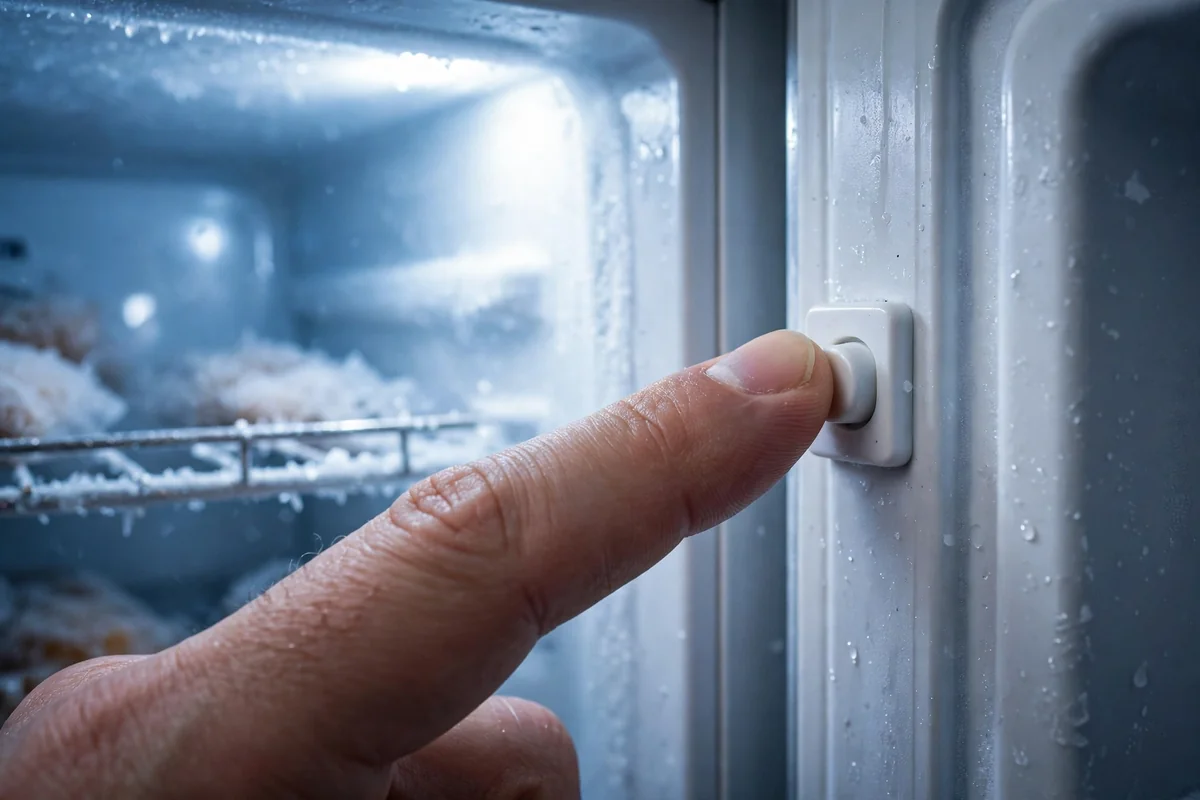
Open the freezer and find the switch. It is usually a small button on the frame. The door presses it when closed. On French-door models it may be a magnetic sensor with no visible button; check your manual for its location. With the door open, press the switch in with your finger and watch the interior light.
If the light goes out while you press, the switch is working. It is telling the board the door is closed. Keep the switch pressed and have someone else press the dispenser paddle. If the auger motor starts, the whole delivery chain works. The real problem is that the door was not pressing the switch fully. That points to a door alignment or gasket issue.
If the light stays on while you press the switch firmly, the switch itself has failed. It is stuck in the “door open” position, so the board permanently locks out dispensing. Door switches are inexpensive. Reaching them sometimes requires popping trim panels. That is straightforward for a technician, but risky for plastic trim in the wrong hands.
Important safety note: with the door switch held closed and the dispenser active, the auger and flapper can move unexpectedly. Keep hands clear of the bin and chute during this test. Do not let children play with the switch.
Control Panel, Dispenser Switch, and Main Control Board
If the bin is clear, the chute is open, and the door switch tests fine, keep going. When the dispenser still does nothing, the fault is electrical. The suspects, in order of likelihood, are the dispenser switch, the door-hinge wiring, and the main control board. This is also where DIY has a firm boundary.
Dispenser Switch Behind the Paddle
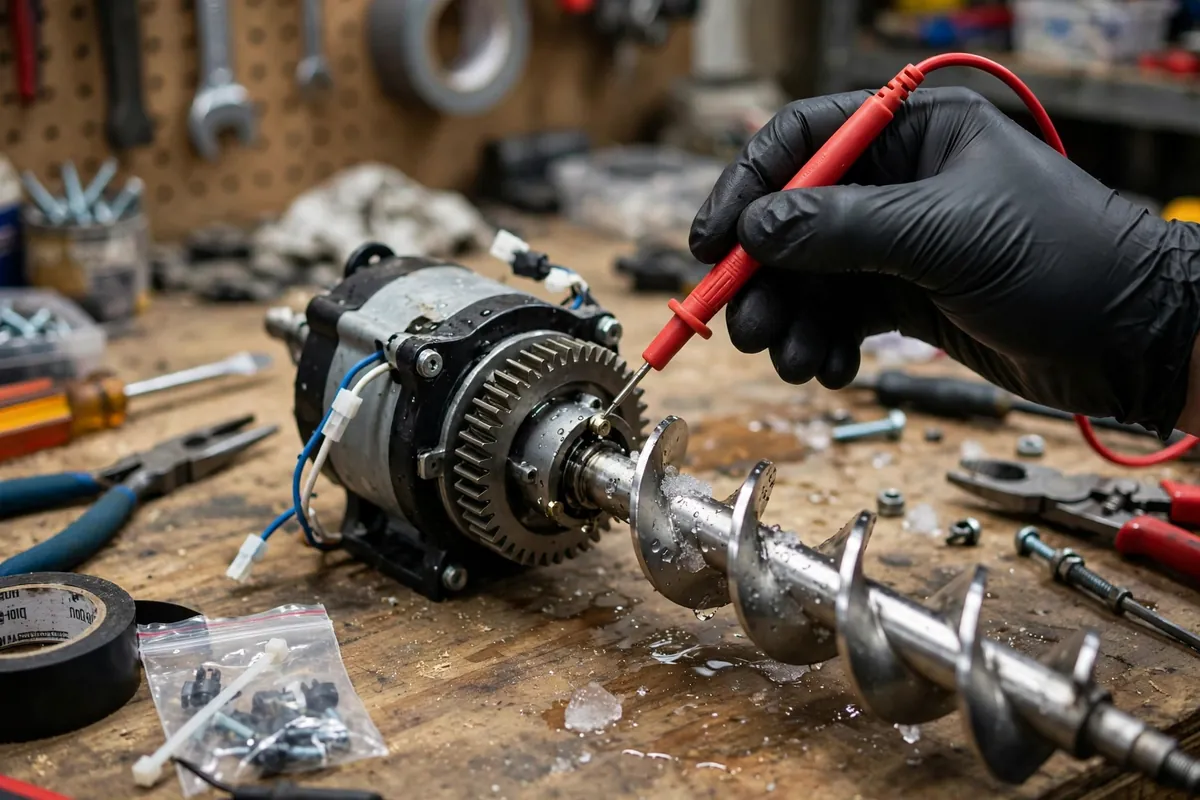
Press the paddle and listen closely. A click with no motor sound is a useful clue. It often means the mechanical part of the switch moves. But the electrical contact inside is worn out. This is a common failure on heavily used dispensers. The switch is rated for a finite number of cycles. Family kitchens reach that number sooner than you might think.
Another tell: the switch works only when you press the paddle at a certain angle. Or you have to press harder than you used to. Replacement switches are cheap parts, but the panel cover usually snaps off with fragile clips. If the clips crack, the cover will never sit flush again. Many owners sensibly hand this one to a technician.
Loose Wiring at the Door Hinge
On French-door and side-by-side models, check the dispenser wiring. It runs from the cabinet, through the door hinge, and up into the door panel. Every door swing flexes that wiring harness slightly. After years of use, wires can crack or work loose inside the hinge sleeve. It is a known weak point on some models.
Signs point here when the dispenser is intermittent. It works with the door at one angle and dies at another. Or jiggling the door changes the behavior. Also suspect wiring if the dispenser light or panel backlight flickers. This one is almost always a technician diagnosis. Testing requires a multimeter and the wiring diagram for your model.
When the Main Control Board Is Suspect
The main control board is the least likely failure. But it becomes the prime suspect when everything else checks out. Clues include:
- The entire control panel is dead — no lights, no response to any button.
- The interior light dims when you press the paddle. That can mean the board is struggling to deliver power to the motor.
- The dispenser runs on its own without the paddle being pressed. If that happens, unplug the refrigerator and call a technician promptly.
Board diagnosis needs live-voltage testing at specific terminals, which is not a safe DIY step. Control boards also fail after power surges. Central Oregon’s summer storm outages are a real-world trigger. A whole-refrigerator surge protector is cheap insurance after any board replacement. Repair cost varies by part and model — a technician can quote it on site after confirming the diagnosis.
Where to stop DIY: know your boundary. Once you are removing panels to reach switches, stop. If you are testing anything with a meter, you are in professional territory. Mistakes here turn a modest repair into a damaged door panel or a shorted board. Diagnosis is free to read about — electrical work is not free to get wrong.
When to Call a Professional in Bend or Redmond
Use this table as your decision guide. Find your symptom on the left. See the most likely cause in the middle. Follow the recommendation on the right. Anything electrical, intermittent, or part-related belongs with a technician — the rest is safe to handle yourself.
Before the table, here is a fast decision flow. Use it for a refrigerator ice dispenser not working with a full bin. Step one: unlock the panel and press the paddle firmly — if it dispenses, you are done. Step two: if the motor hums but nothing drops, clear the bin and the chute. Step three: if the motor runs freely with no resistance sound, reseat the bin. Step four: if the paddle clicks but the motor is silent, test the door switch with the light. Step five: if none of these change anything, the fault is electrical. It is in the switch, the wiring, or the board. That is where professional diagnosis starts.
| Symptom | Likely Cause | DIY or Call a Pro? |
|---|---|---|
| Paddle does nothing, lock icon lit | Control lock engaged | DIY — hold lock button to unlock |
| Motor hums but no ice drops | Fused clumps or jammed chute | DIY — clear bin and chute, dry thoroughly |
| Motor runs, nothing moves | Bin not seated on auger coupling | DIY — remove and reseat bin firmly |
| Bin will not click into place | Auger misaligned | DIY — rotate auger in quarter turns |
| Works in crushed mode only, or cubed only | Cubed-crushed solenoid | Call a pro — part replacement behind panels |
| Click at paddle, silence from motor | Worn dispenser switch | Call a pro — fragile panel clips |
| Light stays on with door switch pressed | Failed door switch | Call a pro — trim panel removal |
| Dispenser works at some door angles only | Hinge wiring cracked or loose | Call a pro — needs meter testing |
| Light dims when paddle pressed | Weak motor or board power issue | Call a pro — electrical diagnosis |
| Panel completely dead | Main control board or power | Call a pro — live-voltage testing |
| Dispenser runs by itself | Shorted switch or board | Call a pro now — unplug first |
| Bin is empty or nearly empty | Ice production failure, not dispensing | See the ice maker guide first |
A note on cost: repair cost varies by part and model. A bin reseat costs nothing. A solenoid or switch is a modest part. A control board is the priciest item on this list. A technician can quote it on site once the diagnosis is confirmed. Upfront flat pricing means you approve the number before any work begins.
Ice Dispenser Still Not Working?
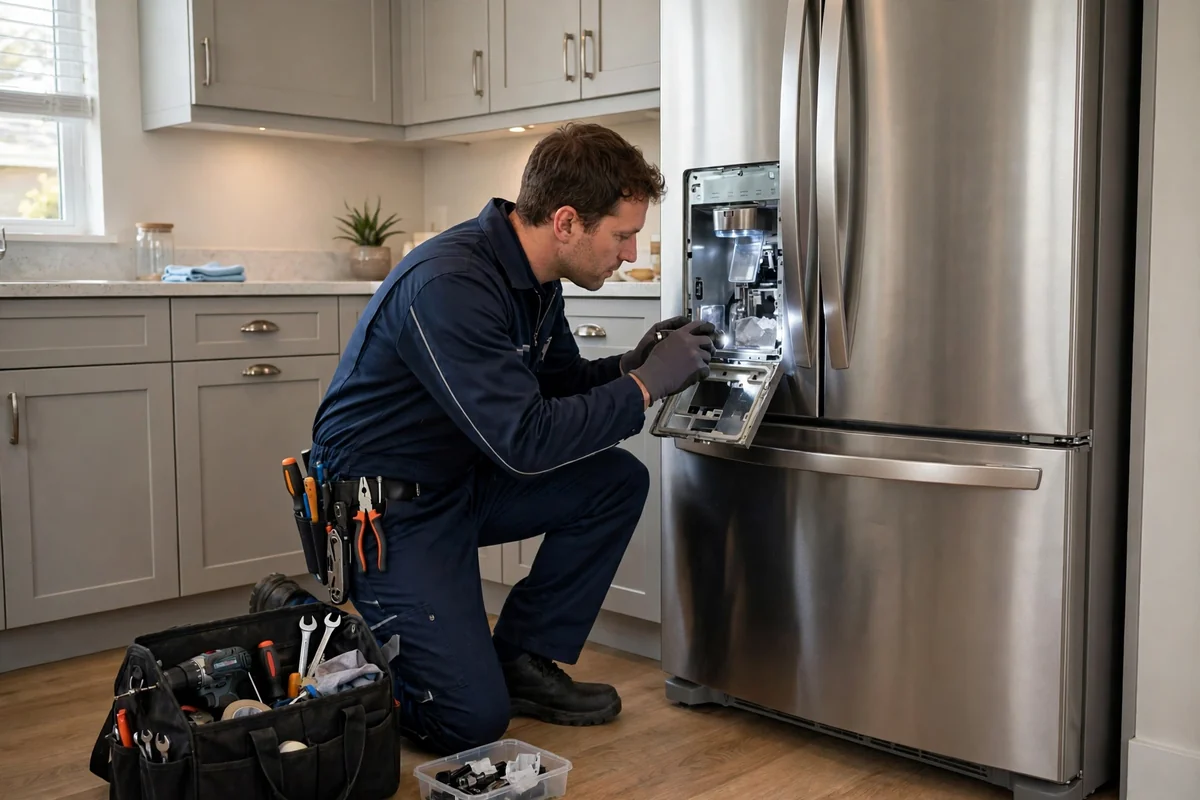
If the checks above have not restored dispensing, call us. Our technicians can pinpoint the actual fault: jam, switch, solenoid, wiring, or board. You get a clear, upfront flat-price estimate before any work starts. Same-day appointments are available across Bend and Redmond, and every repair is backed by a 90-day warranty.
Frequently Asked Questions About Ice Dispensers
Why does my ice dispenser not work but the water does?
Water flowing normally means the household supply and the shared inlet path are fine. The failure is on the ice side alone: the auger, the chute, the paddle switch, or the door switch. Work through the quick checks and the clump-clearing steps above — one of them resolves most ice-only failures.
Can I fix a stuck auger myself?
Usually, yes. Pull the bin and dump fused or old ice. Let it warm up briefly if needed, then break clumps apart by hand. Clear the chute with a warm damp cloth and dry it thoroughly. Reseat the bin firmly. If the motor strained against a jam for a long time, let it cool. Give it a few minutes before testing again. Some motors have a thermal cutoff that resets itself. Stop and call a technician if you spot damage. That means cracked auger blades, a loose helix, or a motor that hums without turning under load.
Why do my ice cubes keep clumping together?
Cubes fuse when they partially melt and refreeze. The usual triggers are simple. Infrequent use lets a full bin sit untouched for weeks. Long door openings and temperature swings soften cubes. Brief power outages do the same. Empty the bin completely every two to three weeks so old ice never sits long enough to bond.
How do I reset my refrigerator ice dispenser?
There is no universal reset button. Start by toggling the dispenser lock off. Then unplug the refrigerator for five minutes. That power-cycles the control board and clears most electronic glitches. Check your owner’s manual for model-specific steps, since some brands add a dispenser test mode behind the panel.
Is it the control board or the auger motor?
Use sound as your guide. If the motor hums or turns when you press the paddle, the board is sending power. The problem is mechanical: a jam, a seating issue, or the solenoid. If the paddle clicks but the motor stays silent, suspect the dispenser switch, the door switch, or the hinge wiring. If the whole panel is dead or the dispenser runs by itself, suspect the board and call a technician. Motors fail more often than boards. Never assume the board first. It is the most expensive guess on this list.
My bin is empty — is this the right guide?
No. An empty bin means your refrigerator is not making ice. That is a different problem with different causes: water supply, freezer temperature, inlet valve, or filter. Our ice maker troubleshooting guide walks through that diagnosis step by step. Come back here once the bin fills and dispensing still fails.
Can I clear the chute with a knife or screwdriver?
Never. Sharp tools puncture chute liners and scratch plastic surfaces. Every scratch becomes a spot where frost grabs and builds up again. Use a warm, damp cloth and gentle pressure, then dry the chute completely. For a stubborn frost plug deep in the chute, patience beats force. Unplug the refrigerator. Leave the freezer door open for an hour and let the plug melt naturally. Patience here prevents repeat jams.
The dispenser works for crushed ice but not cubed — why?
That split points at the cubed-crushed solenoid. It is the small electromagnet that shifts the ice guide between whole cubes and the crusher blades. Reseat the bin first, since misalignment can jam the crusher arms. If the split persists, the solenoid needs replacement.
The ice tastes or smells bad — is that a dispenser problem?
Usually not. Off-tasting ice is most often a water quality or filter issue rather than a dispenser failure. Replace the water filter if it is overdue. Then flush the line by running several glasses of water through the dispenser. If the water side misbehaves too, see our water dispenser guide.
Ice Dispenser Repair in Bend and Redmond, OR
A dispenser that hums but delivers nothing is usually a quick fix. But electrical symptoms deserve a professional diagnosis before they get worse. That means a dead panel, flickering lights, or a dispenser that runs by itself. Central Oregon’s storm-season power blips make control-board problems more common here. Many owners do not expect that. So do not ignore flickering or intermittent behavior when the dispenser fails.
We serve homeowners throughout Bend. Neighborhoods include Northwest Crossing, Awbrey Butte, and Boyd Acres. We also serve Larkspur, River West, Mountain View, Summit West, Orchard District, and Southern Crossing. Plus appliance repair in Redmond, Oregon and the surrounding Central Oregon communities. Tell the scheduler what you have already checked. For example, say the motor hums but no ice comes out. Or say the panel is completely dead. That detail helps the technician arrive with the right parts. It usually resolves the problem in a single visit.
Final Takeaway
A refrigerator ice dispenser not working is usually a delivery problem, not a broken refrigerator. Start with the lock, the door closure, the paddle press, and the bin itself. Those five-minute checks resolve most failures. Then clear clumped ice and reseat the bin before suspecting anything electrical.
Never use sharp tools in the chute, and do not open sealed electrical panels or test live wiring yourself. When the simple fixes do not restore dispensing, take the next step. If symptoms point at a switch, solenoid, wiring, or board, professional diagnosis is the sensible move.