Oven Not Heating Evenly? Causes and Fixes for Bend, OR Homes
Cookies burn on one side and stay pale on the other. A casserole browns at the edges while the center stays raw. These are classic signs of an oven not heating evenly. Most causes are easy to diagnose once you know where to look. This guide covers the six most common reasons behind it. It also walks you through a simple thermometer test you can do today. Finally, you will know exactly when to call a local technician.
Uneven Baking Is Annoying — But Usually Fixable
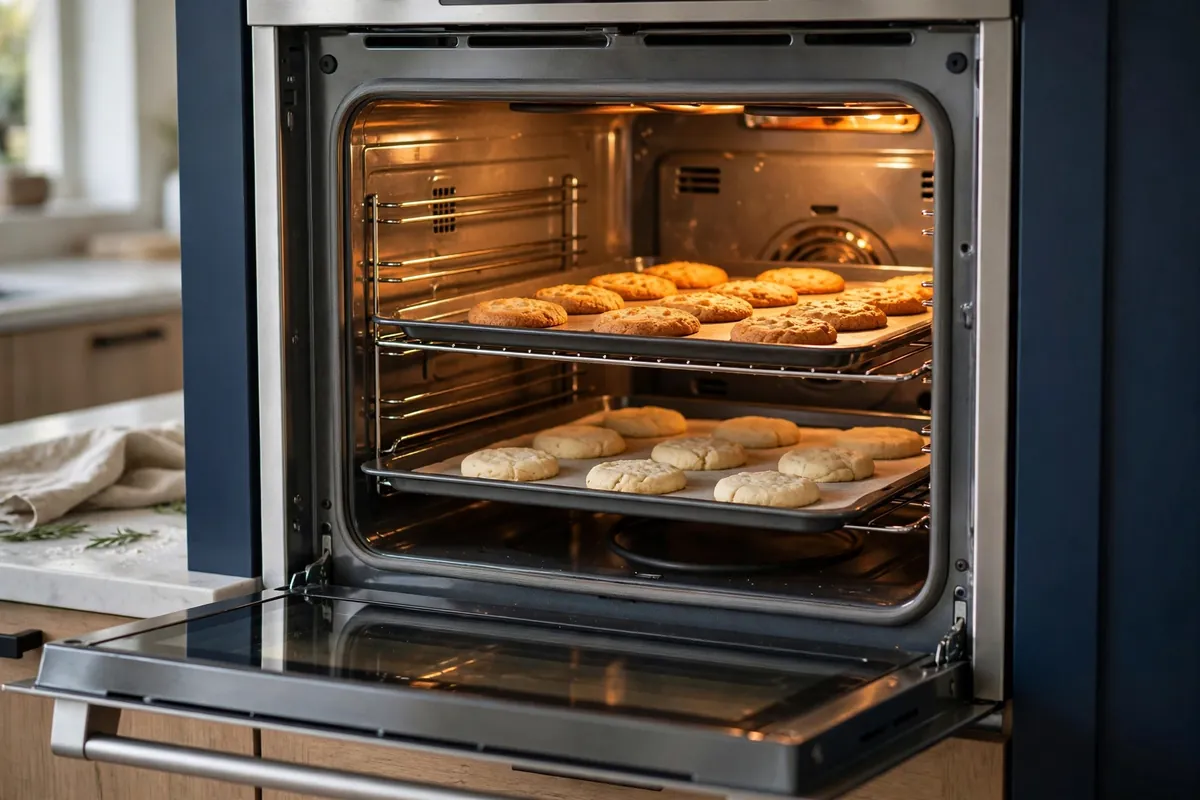
An oven that bakes unevenly turns every recipe into a gamble. One tray of muffins comes out perfect. The next tray has burnt edges and raw centers. You start rotating pans halfway through. You memorize which corner runs hot. None of that should be necessary.
The good news is that uneven baking almost always has a specific cause. Six usual suspects explain it. The thermostat may read wrong. The gas igniter may be weak. The electric element may be failing. The convection fan may be dead. The door gasket may be worn. Or airflow may be blocked. Each one leaves its own clues.
This guide is written for homeowners in Bend, Oregon and the surrounding Central Oregon area. It shows you how to match your baking symptom to the cause. It includes a step-by-step oven thermometer test that takes about 30 minutes. It also covers local factors. High-altitude baking around 3,600 feet affects results in Central Oregon kitchens.
Work through the sections in order. Start with the symptom table. Then read the cause that matches. Run the thermometer test before you buy any part or book any repair. Most of the time, you will know exactly what is wrong by the end.
Table of Contents — Tap to Jump to a Section
- 01 Introduction
- 02 Quick Answer
- 03 Diagnose by Symptom
- 04 Calibration or Thermostat
- 05 Weak Gas Igniter
- 06 Failing Bake Element
- 07 Convection Fan Failure
- 08 Damaged Door Gasket
- 09 Vents, Racks & Cookware
- 10 Temperature Test
- 11 Prevention
- 12 Central Oregon Factors
- 13 DIY or Pro?
- 14 When to Call a Pro
- 15 FAQ
- 16 Bend & Redmond Service
- 17 Final Takeaway
Why Is My Oven Not Heating Evenly?
The six most common reasons an oven bakes unevenly are:
- The oven needs calibration. The thermostat reads wrong, so the real temperature runs 25°F or more above or below the setting.
- Weak gas igniter. On gas ovens, a worn igniter takes too long to light the burner. The result is slow preheats and wide temperature swings.
- Failing electric bake element. On electric ovens, a damaged element heats in spots instead of across its full length. Food cooks in patches.
- Dead convection fan. Without the fan, hot air pools at the top of the cavity. One side of the pan bakes faster than the other.
- Worn door gasket. A flattened or torn seal leaks heat around the door. The front of the oven runs cooler than the back.
- Blocked airflow. Overcrowded racks, wrong rack height, or oversized pans block heat circulation. This creates hot and cool zones.
Start with the 30-minute thermometer test in this guide. It tells you whether the problem is temperature accuracy or heat distribution. That single answer narrows the suspects to one or two.
Gas safety first: if you ever smell gas near your oven, do not troubleshoot it yourself. Leave the house and call for help from outside. Uneven heating is never worth a gas risk.
Match Your Baking Symptom to the Likely Cause
An oven not heating evenly looks different depending on the cause. Find your symptom below, then read the matching cause section for the full fix.
| What You Notice | Most Likely Causes | Check First |
|---|---|---|
| Everything cooks too fast or too slow, but evenly | Oven needs calibration, thermostat reading wrong | Thermometer test, then recalibrate |
| One side of the pan browns, the other stays pale | Dead convection fan, blocked vents, door gasket leak | Fan sound, vent clearance, gasket gaps |
| Bottoms burn while tops stay raw | Rack too low, failing bake element, calibration too hot | Rack position, then thermometer test |
| Food near the door stays underdone | Worn door gasket leaking heat | Dollar-bill test around the door seal |
| Long preheats and wide temperature swings | Weak gas igniter, failing temperature sensor | Igniter glow time (gas) or sensor test |
| One burner-side of a gas oven runs hotter | Clogged burner ports, weak igniter | Visual check of burner flame pattern |
| Only part of the electric element glows red | Failing bake element | Visual inspection during preheat |
| Hot spots move around between batches | Overcrowded oven, wrong pan size, blocked airflow | Rack spacing and pan clearance |
6 Common Reasons an Oven Heats Unevenly
The sections below cover each cause in detail. They run from the easiest checks to the repairs most likely to need a technician. Read the one that matches your symptom — or work through all six if you are not sure yet.
| Common Cause | Main Symptom | Difficulty |
|---|---|---|
| Oven needs calibration / thermostat off | Everything cooks too fast or too slow | Easy — 30 minutes |
| Weak gas igniter | Long preheats, temperature swings (gas ovens) | Moderate to pro |
| Failing electric bake element | Patchy browning, only part of element glows | Moderate to pro |
| Convection fan not circulating | One side browns faster than the other | Moderate to pro |
| Damaged door gasket | Food near the door stays underdone | Easy to moderate |
| Blocked vents, wrong rack position, wrong pan | Hot spots that move between batches | Easy — 5 minutes |
1. The Oven Needs Calibration (Thermostat Reads Wrong)
This is the first thing to rule out, because it is the most common cause of baking complaints overall. Your oven’s display says 350°F. The actual temperature inside might be 325°F — or 385°F. The oven is not heating evenly in the sense that its heat does not match the recipe. Everything cooks, but everything is off.
Ovens drift out of calibration over time. Heating cycles, door slams, and years of expansion and contraction all shift the thermostat’s accuracy. A drift of 25°F to 50°F is common on older ovens. That is enough to ruin delicate baking. Cakes fall. Cookies spread too thin. Bread crusts before the inside sets.
Calibration problems also hide behind other symptoms. An oven running 40°F hot can look like a hot-spot problem. The edges burn while the center catches up. Before you blame the element or the fan, confirm the actual temperature. The thermometer test later in this guide takes 30 minutes and answers the question for good.
Many modern ovens let you recalibrate the control yourself. The owner’s manual usually describes a key combination that enters calibration mode. From there, you can shift the displayed temperature up or down. Some models allow as much as 35°F in either direction. If your oven runs 30°F cool, you add 30°F of offset. The display then matches reality.
Recalibration only fixes a steady offset. If the thermometer shows wide swings, the sensor may be failing. For example, readings of 325°F and then 390°F point to a bad thermostat or temperature sensor. A sensor that reads inconsistently cannot be calibrated around. That is a part replacement, and it usually belongs to a technician.
One more note on thermostats: ovens cycle. The element or burner turns on and the temperature climbs past the setting. Then the heat cuts off and the temperature drifts back down. A swing of about 15°F to 25°F around the set point is normal. Do not chase perfect flat-line temperature. Chase a correct average.
Quick check: if a trusted recipe suddenly needs very different times or temperatures, suspect calibration drift. Ovens rarely change heat patterns overnight. Thermostats drift gradually over years, and you notice it all at once.
2. A Weak Gas Igniter (Gas Ovens)
On a gas oven, the igniter does two jobs. It glows hot enough to ignite the gas. It also signals the gas safety valve to open. When the igniter weakens with age, it still glows — but it takes longer to reach ignition temperature. The burner lights late, or it lights unevenly across its length.
The classic symptom of a weak igniter is a very long preheat. The oven takes far longer than it used to reach temperature. You may also notice wide temperature swings during baking. The burner cycles on late and shuts off late. Food near the burner gets blasts of heat while the rest of the cavity lags behind.
A weak igniter is a leading cause of an oven not heating evenly in gas models.
There is a simple visual clue. Watch the igniter through the oven’s lower vent or with the bottom panel removed. A healthy igniter glows bright and the burner lights within about a minute and a half. An igniter that glows for much longer than 90 seconds before the flame appears is too weak. It needs replacement.
Weak igniters also create a subtle safety concern. Delayed ignition can allow a small amount of gas to build up before lighting. You might hear a soft “whoomph” when the burner finally catches. That delayed light-off is a sign to replace the igniter soon — not a sound to get used to.
Inspect the burner tube itself while you are looking. Corrosion, deformation, or clogged burner ports change the flame pattern. An even row of small blue flames is what you want. Yellow, lifting, or missing flames in sections mean the burner tube needs cleaning or replacement. A damaged tube distributes heat unevenly no matter how healthy the igniter is.
Igniter replacement is a moderate repair. The part is inexpensive and the job is straightforward for someone comfortable with basic tools. But it involves gas connections and electrical wiring in the same workspace. Many homeowners reasonably choose professional service here. If you smell gas at any point, stop immediately and call for help from outside the house.
3. A Failing Electric Bake Element
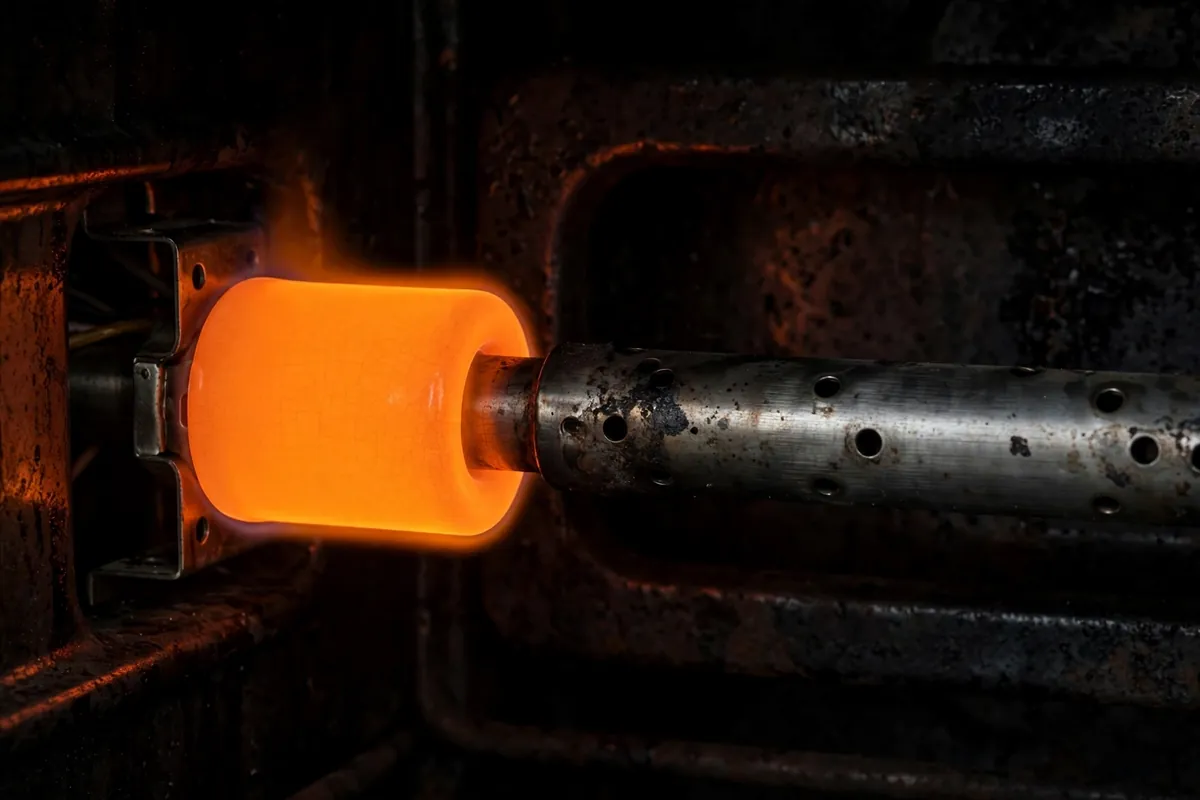
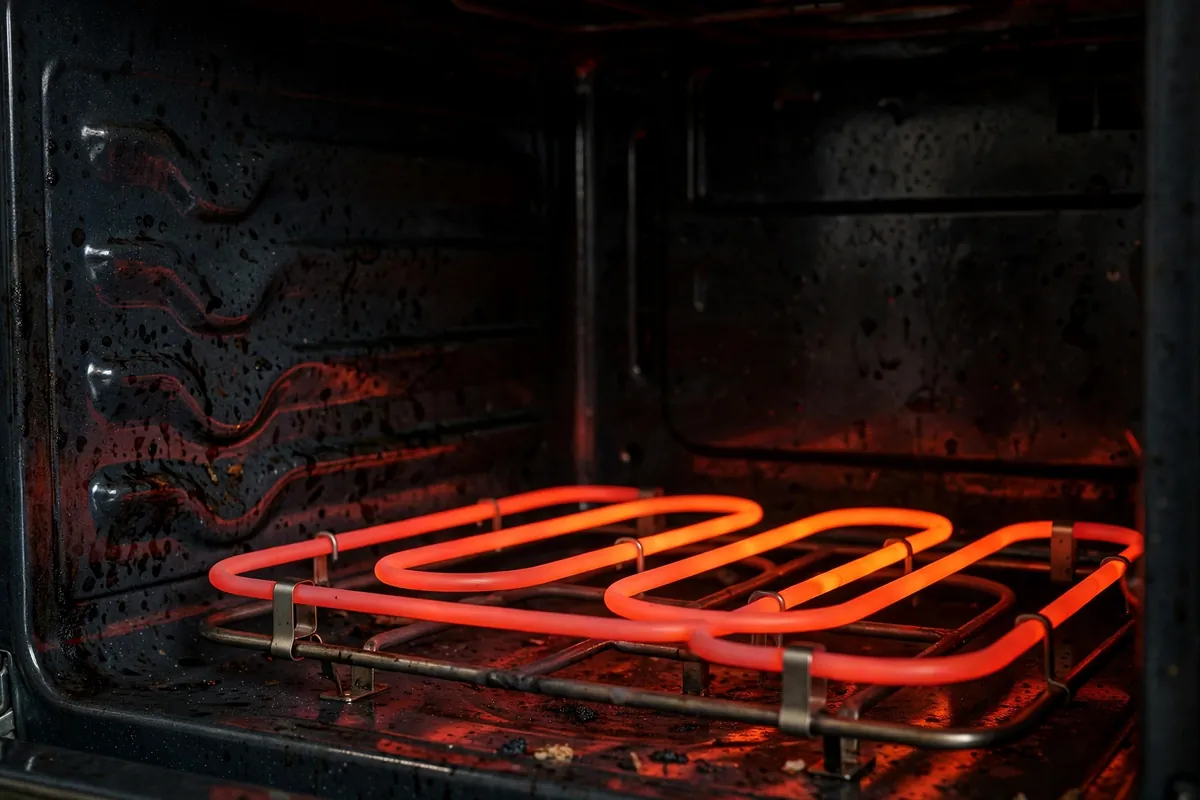
On an electric oven, the bake element sits along the bottom of the cavity. It is the thick metal coil or bar you see there. It should glow a consistent red-orange across its full length when heating. When it starts to fail, only sections of it glow. The rest stays dark. That patchy heat goes straight into your food.
A failing element explains some of the most frustrating uneven-baking patterns. One side of a sheet pan browns while the other stays pale. The bottom of a pizza cooks in spots. Two identical trays come out differently because they sat over different sections of the element. If your oven is not heating evenly and it is electric, the bake element is suspect number one.
Start with a visual inspection. Let the oven preheat and look at the element through the door. You are checking for an even glow. Then, with the oven cool and unplugged, look closely at the element’s surface. Blisters, bubbles, cracks, or rough patches are all signs of a dying element. Sometimes you can see the exact spot where it will soon break.
A completely burned-out bake element creates a sneakier problem. The oven still heats — using only the broil element at the top. Food cooks from above instead of below. The tops burn while the bottoms stay raw. If your baking suddenly flipped upside down like this, check whether the bake element glows at all.
The definitive test is a continuity check with a multimeter. With the oven unplugged and the element disconnected, a healthy element shows continuity. No continuity means the element has an internal break and must be replaced. This test takes minutes for anyone comfortable with a multimeter.
Element replacement itself is usually straightforward: remove a few screws, disconnect the wires, and install the new element. The catch is ordering the exact part for your model. An element that is slightly wrong in wattage or shape will heat unevenly by design. Match the model number carefully, or let a technician source it.
4. The Convection Fan Is Not Circulating Air
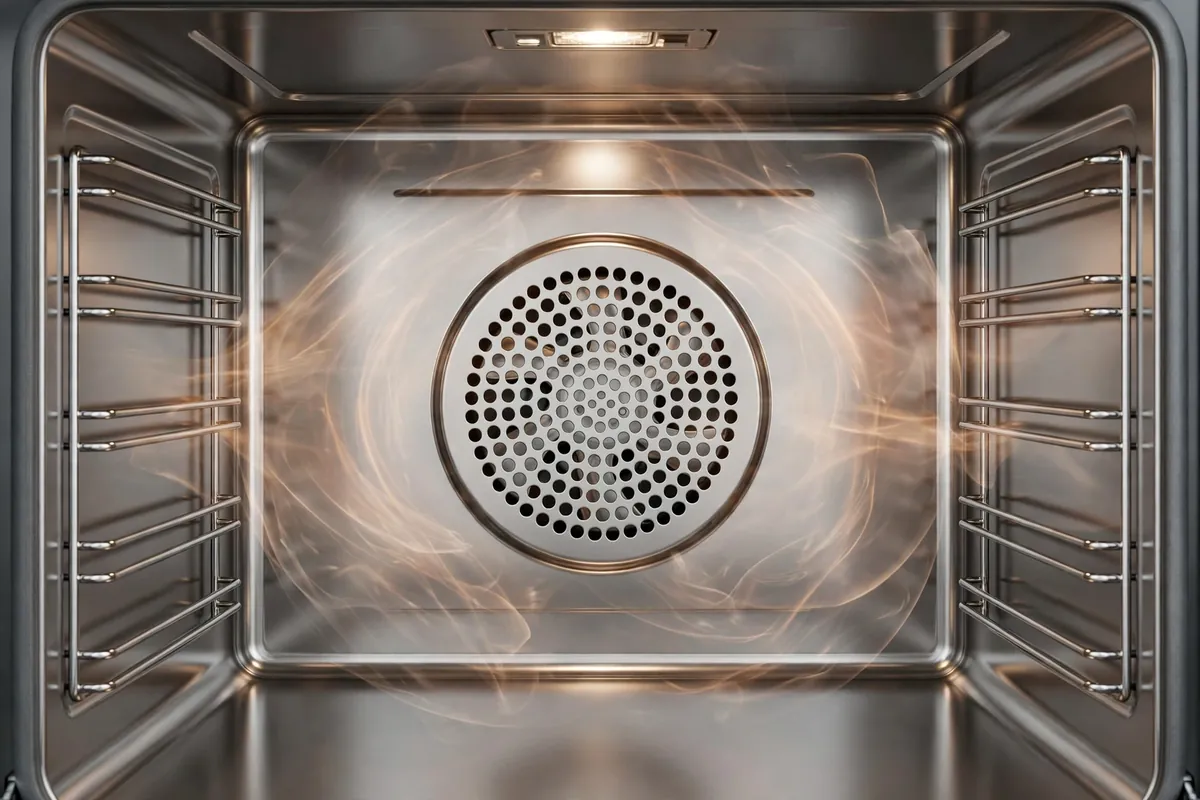
A conventional oven heats by radiation. Hot air rises, cool air sinks, and the top of the cavity runs hotter than the bottom. A convection oven adds a fan that circulates the hot air continuously. It usually sits behind a cover on the back wall. That circulation is what makes convection baking so even.
When the fan stops working, the oven silently becomes a conventional oven with extra quirks. Heat pools at the top. The back runs hotter than the front. One side of every pan browns faster. If your convection oven suddenly bakes like an old conventional model, check the fan first. A dead fan is a classic cause of an oven not heating evenly.
Testing the fan is easy. Start a convection bake cycle and listen. You should hear the fan’s steady hum within a minute or two. Open the door briefly. On many models the fan pauses when the door opens. It restarts when the door closes. No sound at all, or a grinding and rattling sound, points to a failed fan motor or damaged blades.
You can also feel for airflow. With the oven warm and the fan running, hold your hand near the back vent. Keep your hand outside the hot cavity. Moving warm air means the fan is working. Still air means it is not. Never reach into a hot oven to check the blades directly.
Fan failure has a few common roots. The motor burns out with age. Blades crack or come loose. Grease and baked-on residue can seize the motor shaft. High-desert dust — a real factor in Central Oregon — works its way into the motor over the years. The motor itself is not a user-serviceable part on most models.
Replacing a convection fan motor is firmly moderate-to-professional work. It requires removing the rear interior panel, disconnecting wiring, and seating the new motor correctly. An incorrectly installed fan can vibrate, rattle, or fail again quickly. If the fan is dead, this is a good repair to hand to a technician.
5. A Damaged Door Gasket Lets Heat Escape
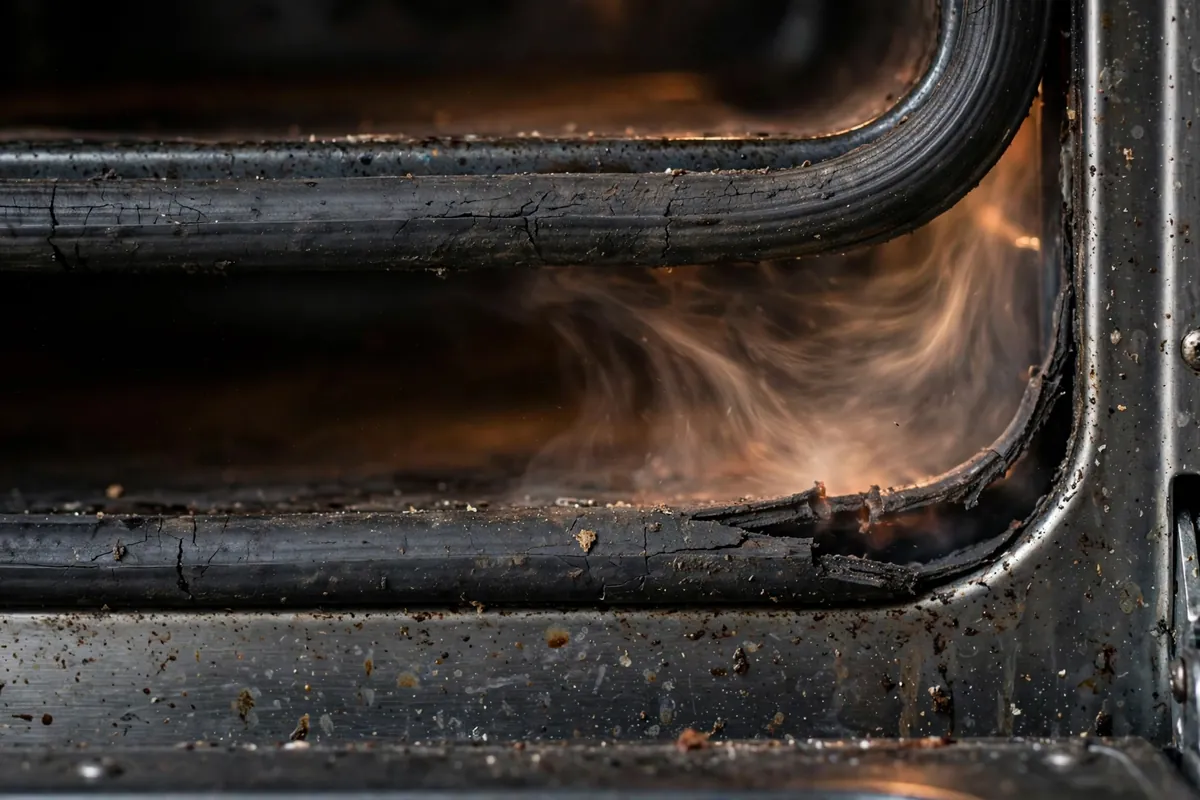
The door gasket is the heat-resistant seal running around the oven door frame. Its job is simple: keep the hot air inside. When the gasket flattens, cracks, or tears, heat leaks out around the door. The front of the oven cavity runs noticeably cooler than the back. Food near the door stays underdone while food at the back overbakes. Heat loss through the door is a common cause of an oven not heating evenly.
Gasket wear is gradual, so the uneven baking creeps up on you. One clue is a door that feels hot during baking. More escaping heat means a hotter door exterior. Another clue is longer preheat times. The oven works harder to hold temperature because it is constantly losing heat through the gap.
The dollar-bill test takes one minute. Open the oven door and place a dollar bill in the opening. Close the door so it catches half the bill. Then pull the bill gently. If the bill slides out easily with no resistance, the seal is weak at that spot. Test several spots around the door — top, sides, and bottom. Weak spots map directly to the cool zones in your baking.
Also look at the gasket visually. A healthy gasket is springy and continuous. A worn one looks flattened, brittle, or torn. Grease buildup can also prevent a full seal. A thorough cleaning of the gasket and mating surface sometimes improves the seal. Try cleaning before you consider replacement.
Replacing a door gasket is one of the more approachable oven repairs. On many models, the gasket pushes into a channel or clips in place with no tools at all. The key is buying the exact gasket for your model number. A gasket that is slightly too long or too short will not seat properly. You will be back where you started.
One caution: never line the oven bottom with aluminum foil to “protect” it while the gasket is failing. Foil on the floor blocks airflow and reflects heat unpredictably. It makes uneven baking worse, and on some models it can damage the finish or block vents.
6. Blocked Vents, Wrong Rack Position, or the Wrong Pan
Sometimes the oven is fine and the setup is the problem. This is actually good news — it means the fix is free and takes five minutes. But it is also the cause people check last, after worrying about expensive parts.
Overcrowding blocks airflow. Every oven needs space for hot air to circulate around the food. Two large pans crammed side by side create a wall that heat cannot pass. The outer edges overbake while the inner edges stay pale. Leave at least an inch or two of space around each pan. Stagger the racks so upper pans do not sit directly above lower ones.
Rack position matters more than most people think. The middle rack gives the most even heat for most baking. Too high, and the tops brown before the insides cook. Too low, and the bottoms burn. For a single tray of cookies or one cake, the center rack is almost always right. Reserve the upper and lower positions for broiling or for tall items that need clearance.
Your pans change the outcome. Dark, nonstick pans absorb more radiant heat and brown bottoms faster. Light-colored aluminum pans bake more gently and evenly. Glass and ceramic dishes hold heat longer and need slightly lower temperatures or shorter times. If a recipe assumes light aluminum and you bake in a dark pan, the bottoms will overbake every time.
Blocked vents create hot and cool zones. Ovens vent hot air through slots. These sit along the back wall, under the cooktop at the rear, or around the door. A large baking sheet pushed against the back wall can cover those vents. So can foil draped over a rack. Keep vents clear and never cover a full rack with foil.
Preheating fully is part of the setup. Putting food in during preheat means it bakes through the temperature climb. The element or burner runs at full blast during preheat, which scorches bottoms. Wait for the preheat signal. Then give it another five to ten minutes. This lets the cavity walls fully heat-soak before the food goes in.
The five-minute reset: center rack, one pan with space around it, vents clear, light-colored pan, full preheat plus five minutes. If your baking evens out after this reset, the oven was never broken — the setup was.
Test Your Oven Temperature in 30 Minutes
This is the single most useful thing you can do for an oven not heating evenly. It separates temperature problems from airflow and part problems. All you need is an inexpensive oven thermometer.
Step 1: Get an Oven Thermometer
Buy a basic oven thermometer — the kind that hangs from a rack or stands on it. Do not rely on an infrared gun for this test. Infrared readings bounce off shiny oven walls and give misleading numbers. A simple dial or digital probe thermometer is what you want.
Step 2: Place It in the Center
Hang the thermometer from the center of the middle rack, or stand it in the middle of the rack. Center placement matters. The corners and edges of an oven run hotter or cooler than the middle. You want the average cooking zone, not a hot spot.
Step 3: Preheat to 350°F
Set the oven to 350°F and let it preheat fully. Wait for the preheat signal, then wait another 15 to 20 minutes. This heat-soak period lets the cavity walls reach a stable temperature. Testing too early gives readings from a still-climbing oven.
Step 4: Take Three Readings
Read the thermometer through the door window without opening the door. Write down the reading. Wait 10 minutes and read again. Wait 10 more minutes and read a third time. Three readings, 10 minutes apart, show you both the average and the swing.
Step 5: Interpret the Results
Average the three readings. If the average is within about 15°F of 350°F, your calibration is fine. If the average is off by 25°F or more, the oven needs recalibration — see Cause 1. If the three readings swing wildly, the thermostat or sensor is likely failing. A spread of more than 40°F between high and low is the warning sign.
Step 6: Map the Hot Spots (Optional)
For a deeper picture, repeat the test with the thermometer in different spots: front-left, back-right, near the door. Big differences between positions confirm an airflow or distribution problem. Suspect the fan, vents, gasket, or element rather than calibration. This map tells a technician exactly where to look.
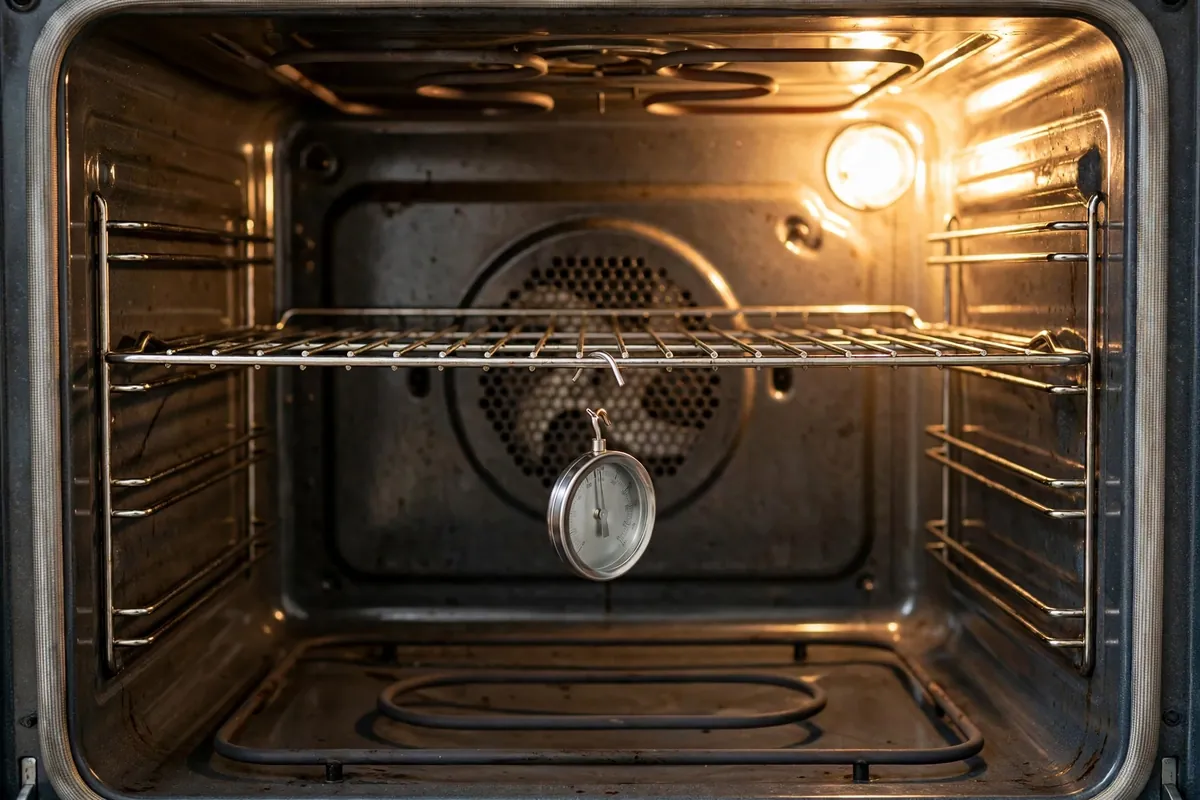
What the test cannot tell you: it measures temperature, not airflow. A perfect average with terrible baking still points to distribution. Suspect the fan, the element’s glow pattern, the gasket, or your rack and pan setup.
Keep Your Oven Heating Evenly
A few low-effort habits prevent most uneven-baking problems before they start.
These steps take minutes and address the root causes behind most uneven-baking complaints.
Central Oregon Factors That Affect Baking
Ovens fail for the same mechanical reasons everywhere. But a few local conditions in the Bend area change how those problems show up. They also affect how your baking behaves in a healthy oven.
High-Altitude Baking Around 3,600 Feet
Bend sits at roughly 3,600 feet of elevation. At altitude, air pressure is lower and water boils at a lower temperature. Baked goods rise faster because gases expand more easily. That sounds helpful. But it often means cakes rise quickly and then collapse. Breads can overproof before the structure sets.
The usual high-altitude adjustments are general baking knowledge, not oven repair. They include slightly higher oven temperatures and slightly longer bake times. Some recipes also need a little less leavening or sugar. If you moved to Bend from sea level and trusted recipes suddenly misbehave, suspect altitude. It is a likely factor — not a broken oven.
Here is the practical takeaway: run the thermometer test before blaming altitude. Many “altitude problems” turn out to be calibration drift that was always there. Fix the oven first, then adjust the recipe. Adjusting recipes around a miscalibrated oven just stacks one error on another.
High-Desert Dust in Fans and Vents
Central Oregon’s dry, dusty air gets into everything — including ovens. Fine dust settles on convection fan motors, builds up in vents, and coats the back-wall cover. Over the years, that buildup can slow a fan and restrict airflow. It contributes to the uneven heating described in this guide.
A gentle cleaning routine helps. Wipe the convection fan cover and vent areas when you do a deep oven clean. Keep the area around a freestanding range free of heavy dust. It will not fix a dead fan motor. But it removes one more drag on the airflow your oven depends on.
Dry Air and Preheating
Bend’s low humidity does not change how an oven heats. But dry winter air does make kitchens cooler, and a cold kitchen means a longer climb to full preheat. If winter baking seems less even than summer baking, give the oven extra heat-soak time after the preheat signal. The thermometer test will confirm whether the oven itself is still on target.
Oven Repair: DIY or Professional Service?
Use this table to decide what to handle yourself and what to hand to a technician. An oven not heating evenly is very diagnosable at home — the repairs themselves vary.
| Repair Task | DIY Suitability | Professional Help |
|---|---|---|
| Thermometer test and temperature mapping | Good | Usually unnecessary |
| Recalibrate the oven control | Good, with the manual | Usually unnecessary |
| Reposition racks, clear vents, fix pan setup | Good | Usually unnecessary |
| Clean or replace the door gasket | Good | Helpful if the channel is damaged |
| Replace electric bake element | Moderate | Recommended for correct part sourcing |
| Replace gas igniter | Moderate | Recommended — gas plus electrical |
| Replace convection fan motor | Model-dependent | Recommended for most homeowners |
| Replace temperature sensor or control board | No | Yes |
The key rule is simple: DIY the diagnosis and the simple fixes. Let a professional handle gas connections, high-voltage electrical work, and part replacement when you are unsure. A correct diagnosis from your own testing makes the service visit faster and cheaper.
When Should You Call an Oven Repair Technician?
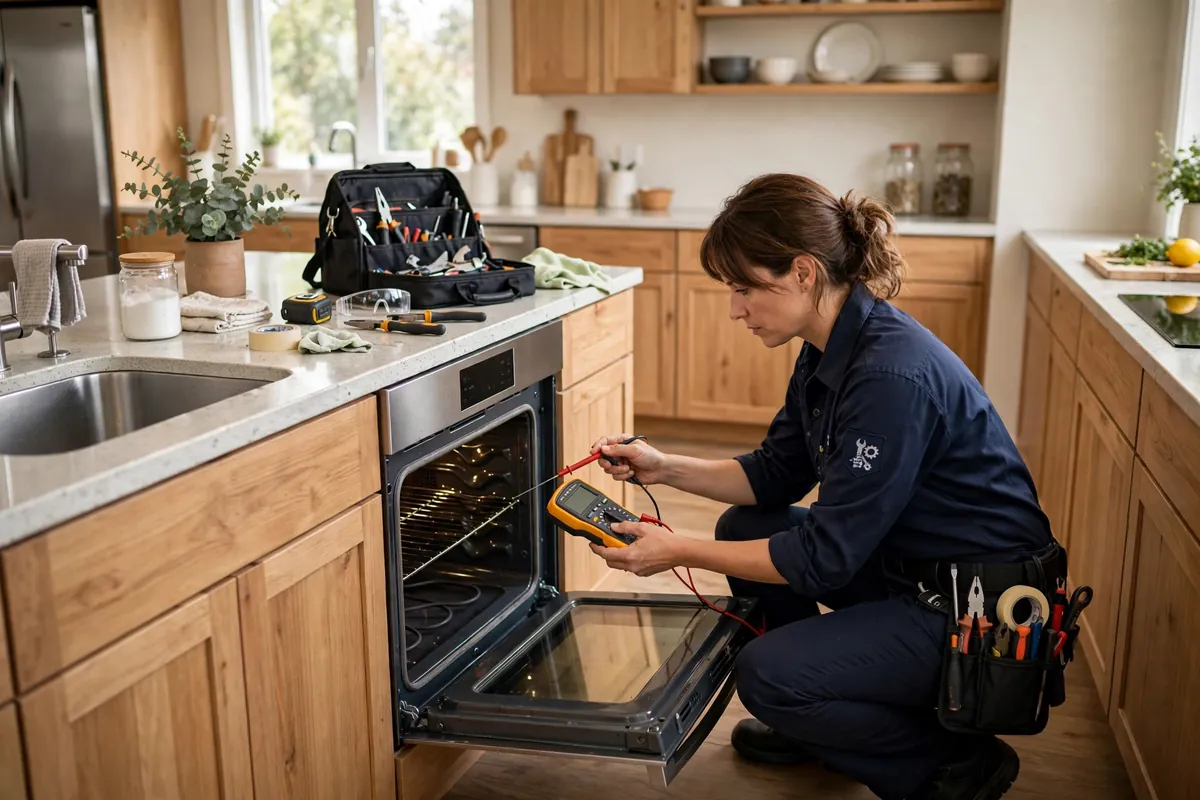
Call a technician when your own testing has ruled out the simple causes. That means calibration, rack position, vents, cookware, and the door gasket. Call if the oven still bakes unevenly after those checks. The remaining suspects are the igniter, bake element, temperature sensor, convection fan motor, and control board. All of them benefit from professional testing and correct part sourcing.
Call sooner — without further DIY attempts — if you smell gas or notice a burning smell. The same goes for delayed ignition with a “whoomph” sound, sparking, or scorch marks. For gas smells, leave the house first and call for help from outside.
For homeowners in Bend, describing your test results makes the visit more productive. Tell the scheduler what you found. For example, say the thermometer reads 40 degrees cool. Or say only half the element glows. That detail helps the technician arrive with the right parts. You can contact our team for a free estimate and we will take it from there.
Frequently Asked Questions About Ovens Not Heating Evenly
How do I know if my oven temperature is accurate?
Hang an oven thermometer from the center of the middle rack and preheat to 350°F. After a full preheat plus 15 to 20 minutes of heat-soak, take three readings 10 minutes apart. If the average is within about 15°F of the setting, your calibration is fine.
Why does my oven burn the bottom of everything I bake?
Burnt bottoms with raw tops usually mean the rack is too low. The oven may run hotter than the setting. Or the bake element may be failing. Move to the center rack first, then run the thermometer test. If the temperature is accurate, inspect the bake element for an uneven glow.
Can I fix an oven not heating evenly myself?
Often, yes. These fixes are homeowner-friendly. Recalibrating the control and repositioning racks qualify. So do clearing vents, choosing the right pan, and replacing a push-in door gasket. Leave gas igniters, high-voltage elements, and control boards to a trained technician.
Why does only one side of my food cook properly?
One-sided browning points to an airflow or distribution problem. Check that the convection fan runs, that vents are clear, and that pans are not overcrowded. On gas ovens, also look for clogged burner ports on the cool side.
Does living at Bend’s altitude affect my baking?
It can. At roughly 3,600 feet, lower air pressure makes batters rise faster and liquids evaporate quicker. That can look like uneven baking even in a healthy oven. Run the thermometer test first to rule out calibration, then adjust recipes with standard high-altitude tweaks.
How do I recalibrate my oven?
Many models have a calibration mode described in the owner’s manual. It is usually a key combination that offsets the temperature up or down. Set the offset to match your thermometer test results. If the manual has no calibration mode, or the temperature swings wildly, the sensor may need professional replacement.
How often should I replace the oven door gasket?
There is no fixed schedule. Replace it when it fails the dollar-bill test. Also replace it for flattening, cracks, or tears. In a well-kept oven, a gasket can last many years. Heavy self-cleaning cycles and grease buildup wear it out faster.
When should I call a professional for uneven oven heating?
Call when DIY checks have not solved it, or immediately for gas smells, delayed ignition, sparking, or burning smells. A technician can test the igniter, element, sensor, fan motor, and control board safely. Reach out through our contact page for a free estimate.
Oven Repair in Bend and Redmond, OR
Uneven baking is often the first sign of a developing oven problem. Catching it early usually means a simpler repair. Whether it is a calibration issue, a weak igniter, or a failing element, get an accurate diagnosis. It is the fastest path back to even baking.
We serve homeowners throughout Bend. That includes Northwest Crossing, Awbrey Butte, Boyd Acres, and Larkspur. It also includes River West, Mountain View, Summit West, Orchard District, and Southern Crossing. We also cover appliance repair in Redmond, Oregon and surrounding Central Oregon communities. Describe what you have already tested using the steps above. It helps the technician diagnose the problem faster, often in a single visit.
Final Takeaway
An oven not heating evenly is usually a calibration, airflow, or component problem — not a dead oven. Start with the 30-minute thermometer test to learn whether your oven runs true. Then match your baking symptom to the cause: thermostat, igniter, bake element, convection fan, door gasket, or setup.
Fix the free things first — rack position, vents, pans, and preheat habits. Take gas smells and electrical warning signs seriously, and do not open sealed compartments without training. When the simple checks do not resolve it, professional diagnosis is the sensible next step.
Oven Still Baking Unevenly?
If the thermometer test and troubleshooting steps haven’t solved the problem, our technicians can help. They can test the actual cause: igniter, element, sensor, fan, or control board. You will get a clear, upfront repair estimate before any work begins.