
Dryer Vent Cleaning: Fire Safety Guide for Bend, OR Homes
A clogged dryer vent is one of the most overlooked fire risks in a home. This guide explains how often to clean your vent. It covers the warning signs of dangerous lint buildup. It also explains what a professional cleaning includes. Everything is written for Bend and Redmond, Oregon homeowners.
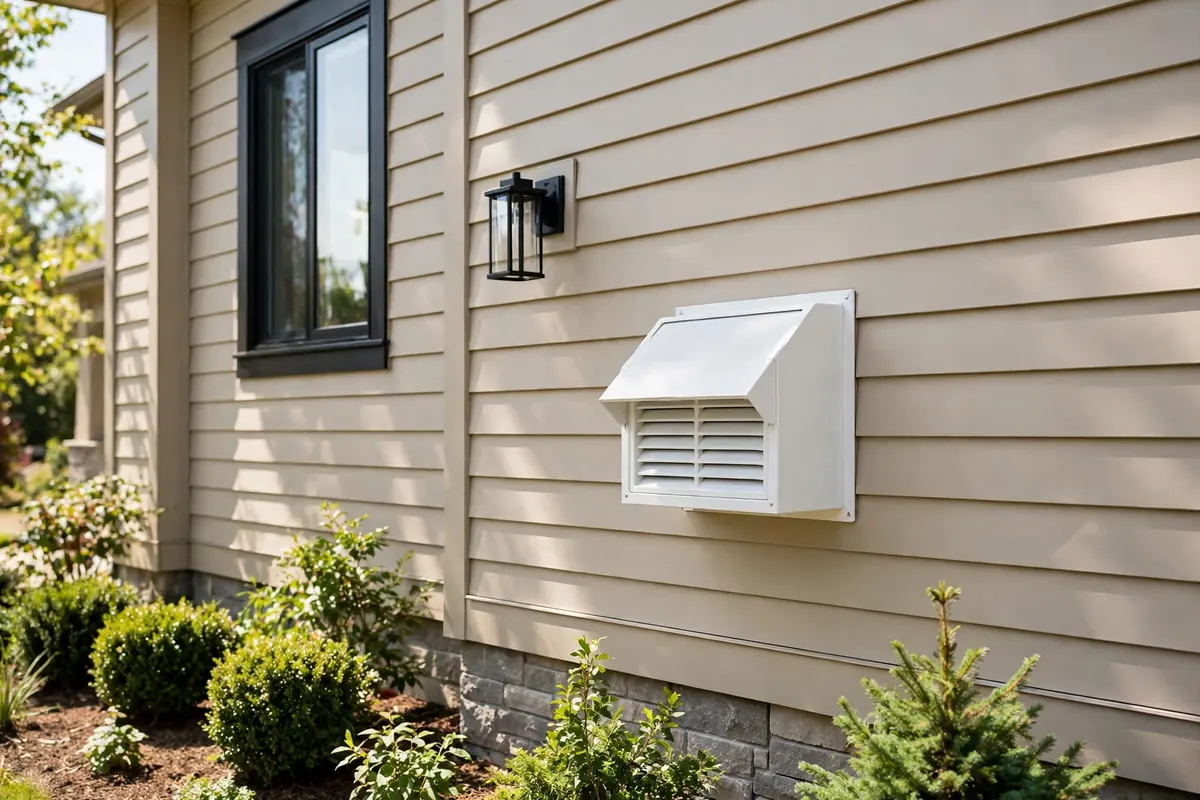
Table of Contents — Tap to Jump to a Section
- 01 Introduction
- 02 How Often to Clean
- 03 Warning Signs Table
- 04 Why Lint Is a Fire Hazard
- 05 Your Cleaning Schedule
- 06 DIY Maintenance Routine
- 07 Vent Types & Routing
- 08 Vent Mistakes to Avoid
- 09 What Pros Do
- 10 Prevention Checklist
- 11 Central Oregon Factors
- 12 DIY or Pro?
- 13 When to Call a Technician
- 14 FAQ
- 15 Bend & Redmond Service
- 16 Final Takeaway
Dryer Vent Cleaning: What Bend Homeowners Should Know
Your dryer pushes hot, moist air through a vent with every load. Lint escapes the lint trap on every one of those loads. The escaped lint coats the inside walls of the vent duct. Over months and years, those coatings grow into thick layers. Thick layers restrict airflow and trap heat inside the system. Trapped heat plus flammable lint creates a genuine fire risk. That simple chain of events is behind most dryer fires.
The good news is that regular dryer vent cleaning breaks the chain completely. Removing the lint removes the fuel. Restoring airflow removes the trapped heat. This guide is a maintenance and fire-safety guide. It is not a troubleshooting manual for a broken dryer. You will learn how often to clean the vent. You will learn the warning signs of a dangerous clog. You will learn what a professional cleaning includes. You will also learn the simple maintenance you can do yourself between professional visits.
Everything in this guide is written for Bend, Redmond, and Central Oregon homes. Local conditions shape how fast vents clog here. High-desert dust, long vent runs in two-story homes, and cold winters all play a role. The schedule and tips below reflect those realities.
How Often Should Dryer Vents Be Cleaned?
For most homes, professional dryer vent cleaning belongs on the annual maintenance list. Clean the lint trap after every single load. Check the exterior vent hood every month or two. Walk through the simple homeowner routine below a few times a year. That combination keeps airflow strong and fire risk low.
Some households should clean more often than once a year. Homes with shedding pets collect lint faster. Large families running multiple loads a day collect it faster too. Long vent runs with several bends clog sooner than short, straight ones. Vents that terminate through the roof deserve extra attention. If any of these describe your home, plan on professional cleaning every six months instead of twelve.
The table below gives a starting point. Adjust based on what you see at your own vent hood.
| Household Type | Suggested Professional Frequency |
|---|---|
| Standard use, short straight vent run | Once every 12 months |
| Home with shedding pets | Every 6 months |
| Large family or multiple daily loads | Every 6 months |
| Long vent run with several bends | Every 6 to 12 months |
| Vent terminates through the roof | Every 6 to 12 months |
| Rental property or unknown cleaning history | Clean now, then annually |
Do not wait for the calendar if warning signs appear. A burning smell means act now. An overheating dryer or suddenly long dry times means the same. Do not wait for the next scheduled cleaning.
7 Warning Signs Your Dryer Vent Needs Cleaning
Your dryer tells you when its vent is clogging. Learn these seven signs and act on them early. One sign is worth watching. Two or more mean it is time to schedule a cleaning this week.
| Warning Sign | What It Means |
|---|---|
| Clothes need more than one cycle to dry | Moist air cannot escape through the restricted vent |
| The dryer cabinet feels very hot to the touch | Heat is trapped inside because exhaust cannot get out |
| A burning smell while the dryer runs | Lint may be scorching — stop the dryer immediately |
| Weak airflow at the outside vent hood | The duct is blocked somewhere along its length |
| Lint collecting around the dryer or laundry room | Air pressure is pushing lint back into the room |
| The exterior vent flap barely opens during cycles | Exhaust pressure is too weak to lift the flap fully |
| The dryer shuts off mid-cycle on its own | The safety thermostat is tripping from overheating |
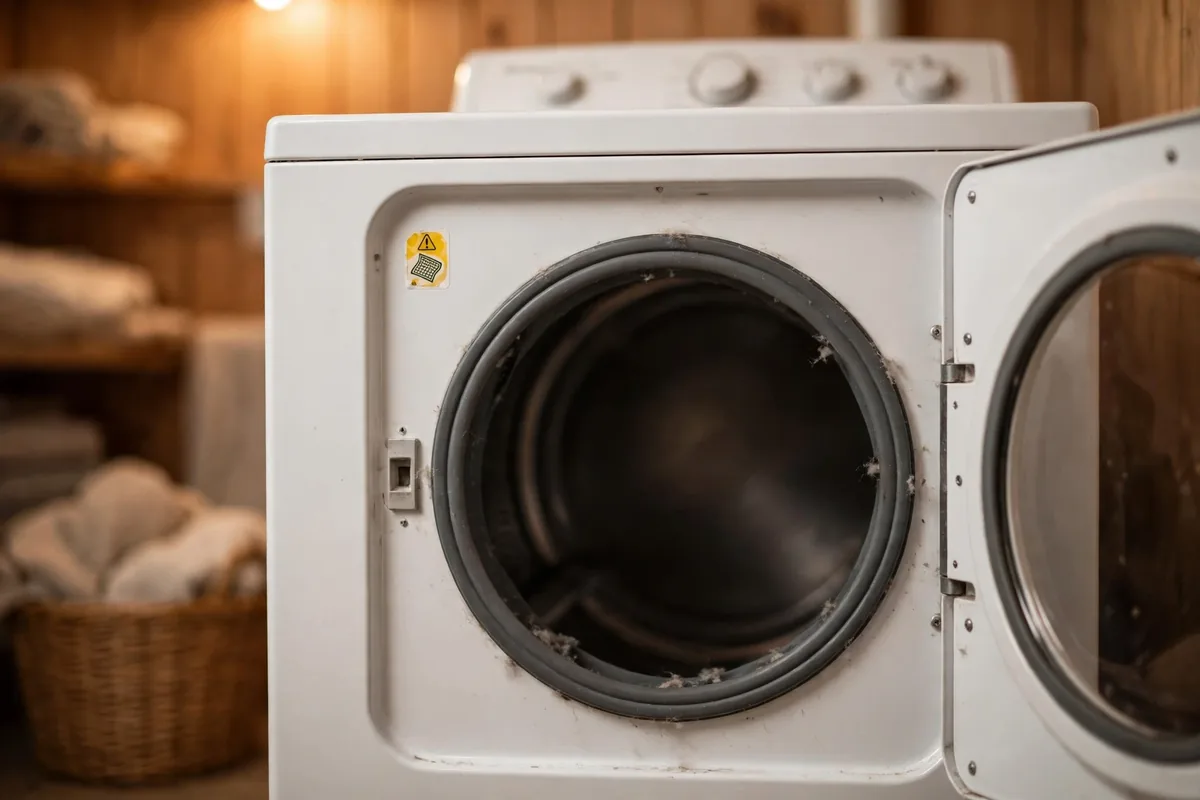
Pay special attention to heat and smell. A dryer that runs hotter than it used to is working against a restriction. A burning odor means lint is getting hot enough to scorch. In both cases, stop using the dryer until the vent is cleaned. These two signs point directly at elevated fire risk.
Long dry times deserve a note of their own. Slow drying has several possible causes beyond the vent. If long cycles are your main complaint, see our dryer troubleshooting guide. It covers vent blockages alongside heating-element and moisture-sensor problems.
Why Lint Is a Fire Hazard
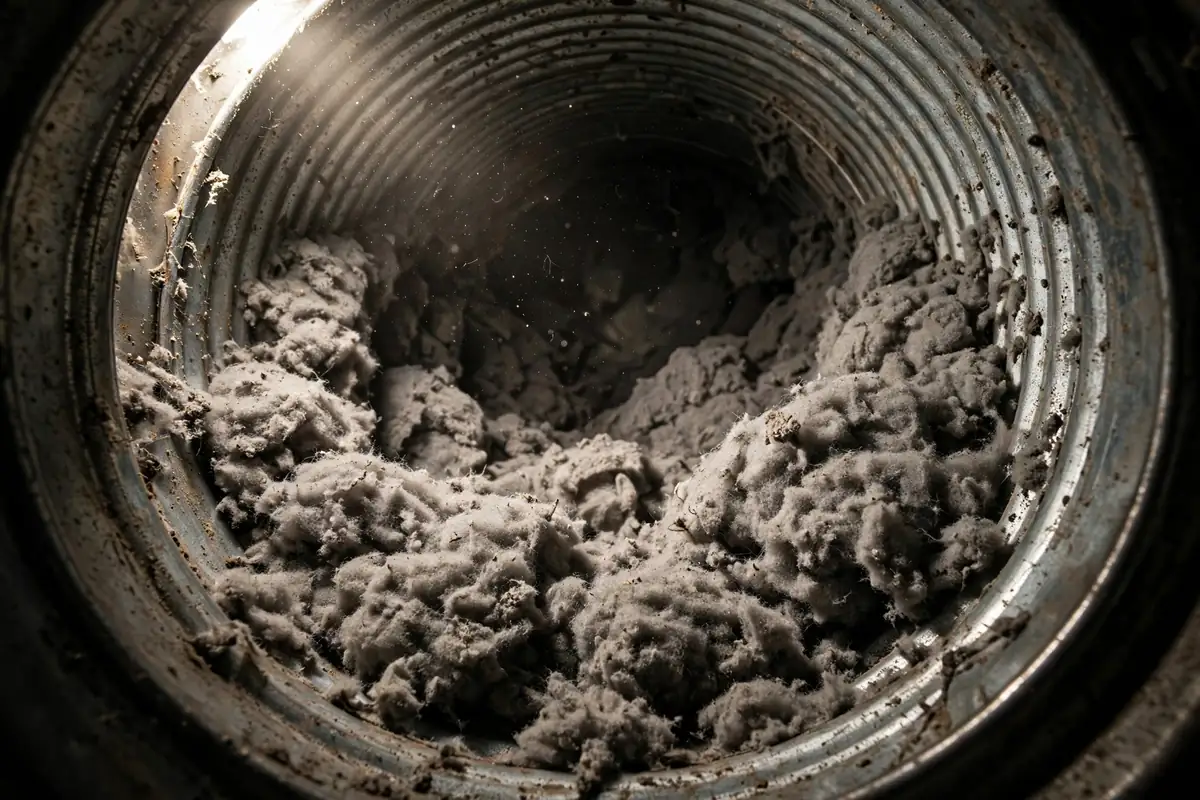
Dryer lint is made of tiny fabric fibers. Those fibers catch fire easily and burn very quickly. Every dryer load creates lint — cotton towels and fleece create the most. The lint screen catches a large share of it. The rest travels past the screen into the vent duct. There it settles on the duct walls and stays.
Layer builds on layer, month after month. The buildup narrows the inside of the duct. A narrower duct moves less air. Less airflow means hot, moist air lingers inside the dryer and the vent. Temperatures climb higher than the system was designed for. Meanwhile the fuel — the lint itself — sits directly in that rising heat.
Fire-safety agencies consistently point to uncleaned vents as a leading cause of dryer fires. The pattern is always the same: fuel plus trapped heat plus time. That is why dryer vent cleaning is a fire-safety task first and an efficiency chore second. A clean vent removes the fuel. It also restores the airflow that carries heat safely outside.
Efficiency matters too, and it is closely connected. A restricted vent forces longer cycles. Longer cycles use more energy and wear out dryer components sooner. The heating element cycles on and off more often. The blower motor strains against the restriction. Bearings, belts, and thermostats all age faster. Regular cleaning protects both your home and your appliance.
Heat damage builds quietly before any flame appears. A restricted vent can scorch lint without open flame at first. Scorched lint produces the burning smell many homeowners notice. That smell is a late warning, not an early one. Never ignore it or hope it fades. Stop the dryer and arrange a cleaning before running another load.
The key insight: you cannot see the most dangerous lint. The lint trap shows you only a fraction of what each load produces. The hidden buildup deep in the duct is what creates the real risk — and only vent cleaning reaches it.
How Often to Clean: The Complete Schedule
Vent maintenance works best as a layered schedule. Small habits handle the surface lint. Periodic checks catch early buildup. Professional cleaning handles the deep duct. Here is how the layers fit together.
Every Load: Clean the Lint Trap
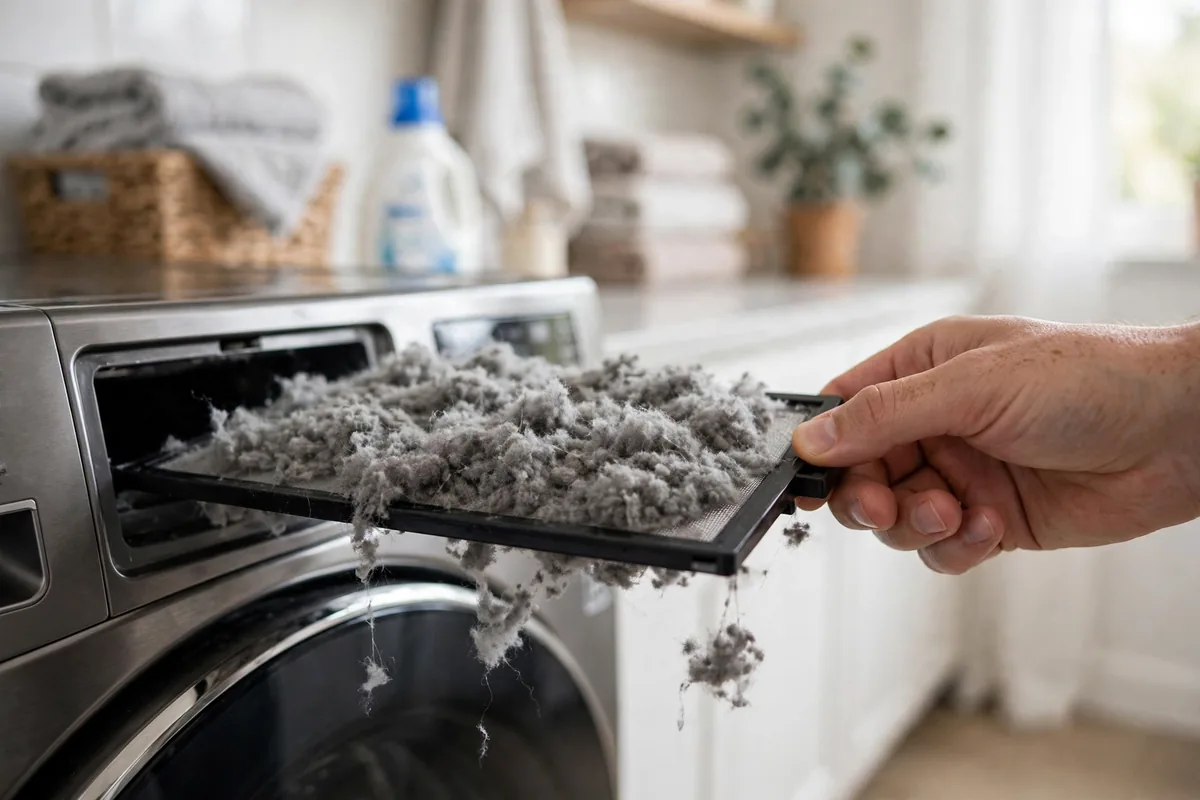
Pull the lint screen after every load and clear it completely. A clogged screen is the fastest way to push extra lint into the duct. It also makes every cycle longer than it needs to be. This thirty-second habit is the single most effective thing you can do. Make it automatic, like closing the dryer door.
Monthly: Check the Exterior Hood
Walk outside and look at the vent hood while the dryer runs. The flap should open freely with strong airflow behind it. Clear away any visible lint around the opening. Check for nests, leaves, or debris blocking the hood. In Central Oregon, birds and windblown debris are common blockers.
Seasonally: Run a DIY Vent Check
Every three to four months, work through the homeowner routine below. Vacuum behind the dryer and brush the accessible duct sections. Feel the duct for crushed spots or sags. Confirm the dryer pushes back into place without kinking the connection. Seasonal checks catch problems between professional visits.
Annually: Book Professional Cleaning
Professional dryer vent cleaning once a year suits most Bend homes. The technician clears the full duct run end to end. That includes sections you cannot reach with a brush kit. Homes with shedding pets or heavy daily use should book every six months. So should homes with long vent runs or roof terminations.
Tie the annual cleaning to an easy-to-remember date. Many homeowners schedule it with furnace servicing in the fall. Others pair it with spring cleaning. The specific month matters less than the consistency. Put a reminder on your calendar so the year does not slip by unnoticed. If you move into a new home, schedule a cleaning right away. You cannot know the previous owner’s maintenance habits. Starting with a clean vent gives you a known baseline.
Your DIY Dryer Vent Maintenance Routine
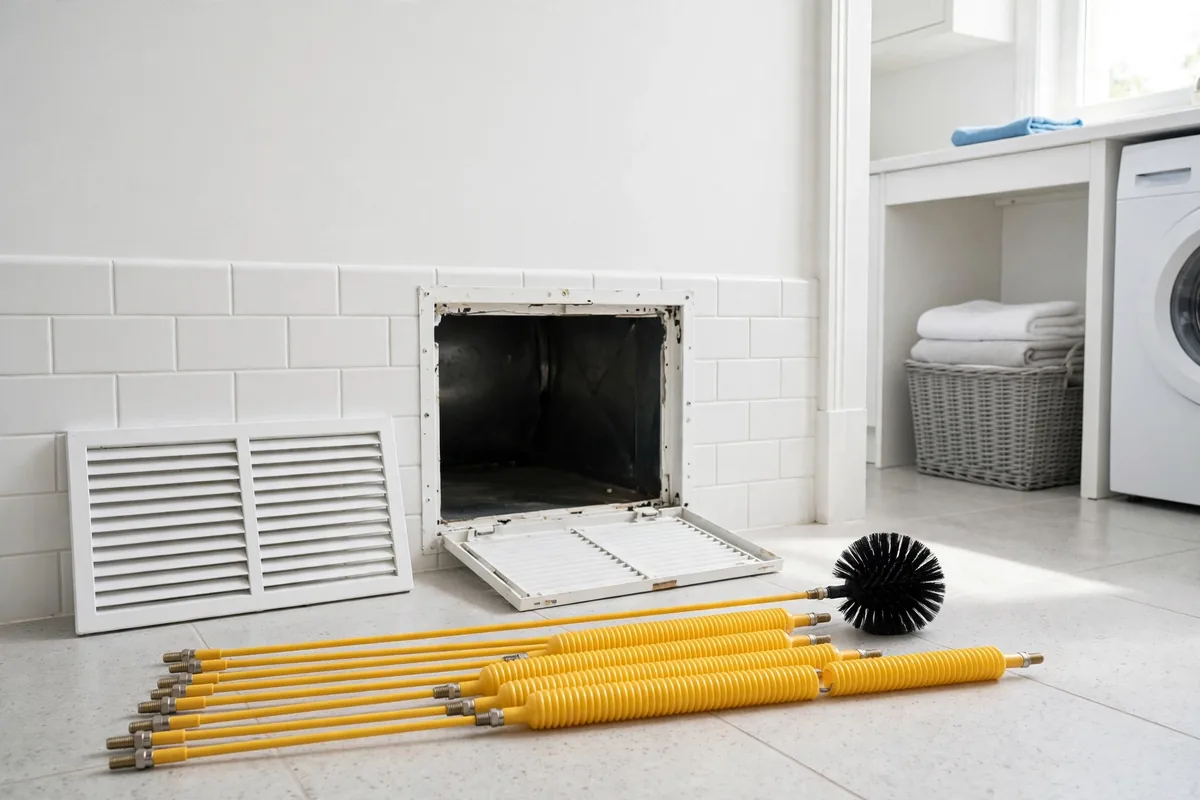
Follow these steps a few times a year. They cover every part of the vent you can safely reach yourself. Work in order and take your time — the whole routine usually takes under an hour. A vent brush kit costs little and lasts for years. Choose one with flexible rods that screw together. The brush head should roughly match your duct diameter. Most residential ducts are four inches across.
Step 1: Disconnect Power Safely
Unplug the dryer from the wall outlet before touching anything behind it. For gas dryers, turn off the gas supply valve as well. Never pull a dryer away from the wall while it is still plugged in. This step protects you from electrical shock and accidental starts.
Step 2: Pull the Dryer Away From the Wall
Slide the dryer forward slowly and carefully. Watch the vent duct as you move it so the connection does not tear. Leave yourself enough room to work comfortably behind the machine. Most dryers slide easily on a smooth floor with a gentle pull.
Step 3: Disconnect the Vent Duct
Loosen the clamp where the duct meets the back of the dryer. Slide the duct off the dryer’s exhaust outlet. Set the clamp aside where you will find it again. Note how the duct was routed so you can reconnect it the same way.
Step 4: Vacuum the Dryer and Duct Openings
Vacuum lint from the dryer’s exhaust opening and the end of the disconnected duct. Use a narrow hose attachment to reach inside both openings. Clear the floor area behind the dryer too — lint collects there as well. A clean starting point makes the brushing step more effective.
Step 5: Brush Through the Wall Duct
Feed a flexible vent brush kit into the duct opening in the wall. Rotate it gently as you push it deeper. Add rod sections to reach further into the run. Pull the brush back slowly to drag loosened lint out. Repeat until the brush comes back reasonably clean.
Step 6: Clear the Exterior Vent Hood
Go outside to the vent hood on the exterior wall. Remove any lint, leaves, or debris from the opening. Make sure the flap or louvers move freely. If the hood is damaged or stuck, plan to replace it. A hood that cannot open freely defeats the entire vent system.
Step 7: Reconnect Everything Tightly
Slide the duct back onto the dryer’s exhaust outlet. Tighten the clamp firmly so no gaps remain. Check that all duct joints along the run feel snug. Seal small joint gaps with foil tape — not standard duct tape, which dries out from the heat. Loose joints leak hot, lint-filled air into your walls.
Step 8: Push Back and Test Airflow
Slide the dryer back into place without crushing or kinking the duct. Keep the duct as straight and short as possible behind the machine. Plug the dryer back in and restore the gas if applicable. Run the dryer on an air-only cycle and check the exterior hood for strong, steady airflow.
Safety reminder: this routine covers accessible sections only. Do not disassemble sealed panels, cut into walls, or climb onto the roof. Long runs, hidden ducts, and roof terminations belong to a professional with the right equipment.
Vent Types and Routing: What Matters for Safety
Not all dryer vents are built equally. The duct material and the route it takes through your home decide how fast lint builds up. Knowing what you have helps you maintain it correctly.
Rigid Metal Duct: The Safer Choice
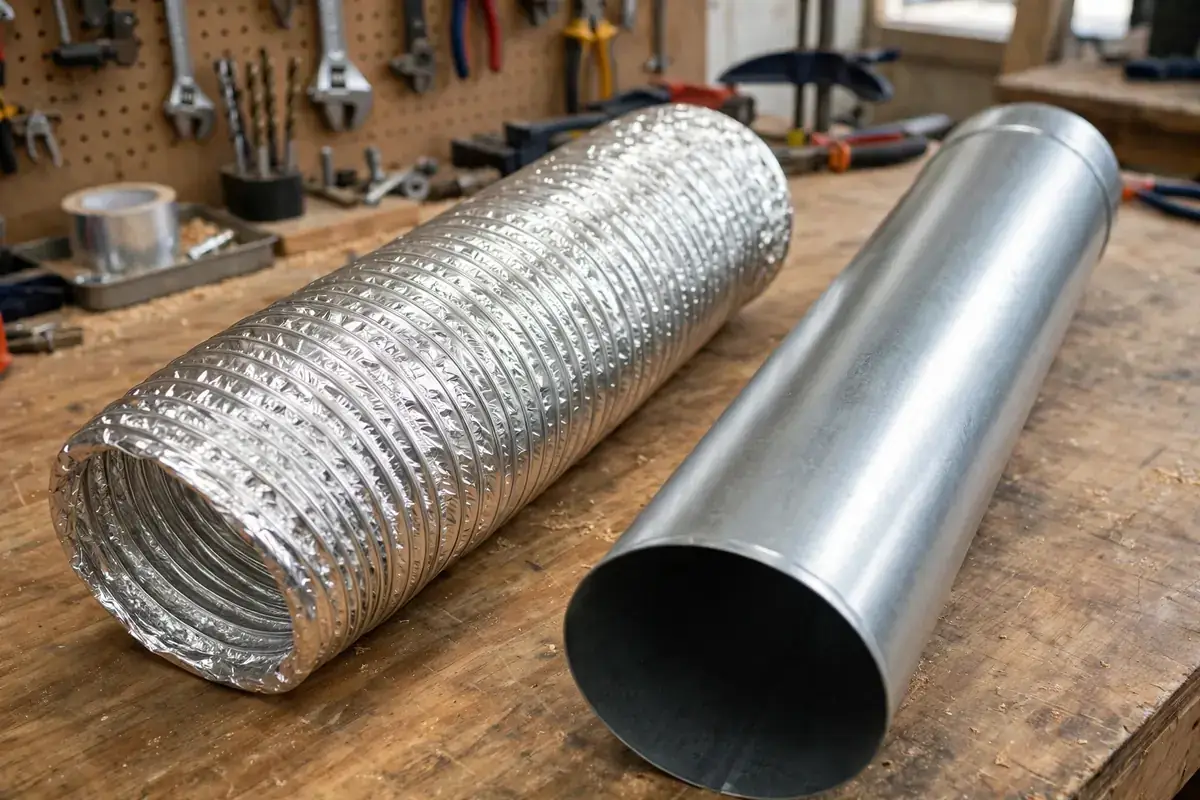
Smooth-walled rigid metal duct is the recommended material for dryer vents. Its smooth interior gives lint little to grab onto. Air moves through it with minimal resistance. Sections join with secure fittings that stay put. If your home already has rigid metal duct, keep it — it is the safest common option.
Flexible Foil Duct: Worth Replacing
Flexible foil duct is ribbed inside, and those ribs trap lint at every ridge. It also sags between supports and kinks easily behind the dryer. Sagging sections collect lint like sediment in a stream bed. If your vent uses flexible foil, plan an upgrade to rigid metal. The material swap pays off in safety and drying speed.
Long Vent Runs Clog Faster
Every bend in a vent run slows the air a little more. Slower air drops more lint along the way. Long runs with multiple elbows therefore clog much faster than short, straight ones. Laundry rooms far from an exterior wall are the classic case. Second-floor laundry rooms often have the longest runs in the house. If your vent travels a long distance, shorten your cleaning interval accordingly.
Roof vs. Wall Termination
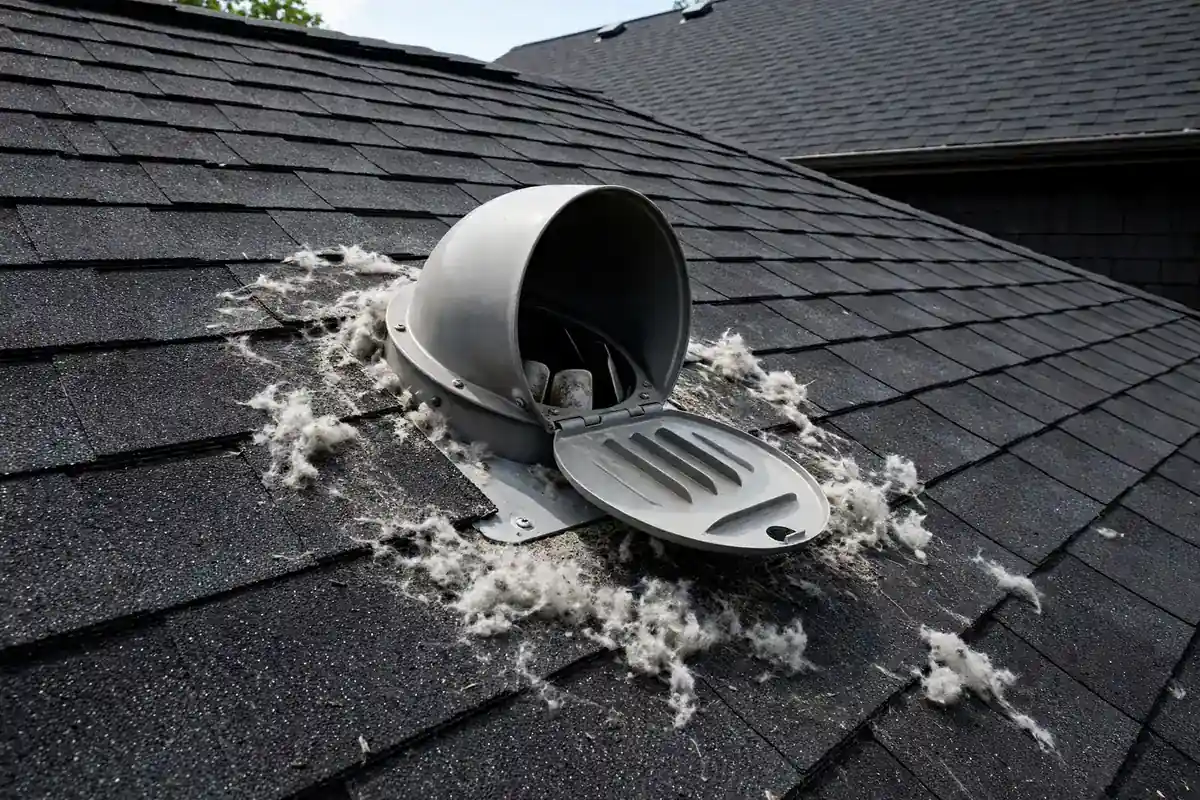
Wall terminations are the easiest to maintain. You can see the hood, feel the airflow, and clear debris in minutes. Roof terminations are common in two-story Bend homes with upstairs laundry rooms. They work fine, but they are harder to inspect and impossible to clean safely yourself. Gravity also works against roof vents — lint must travel upward the whole way. Check the roof cap from the ground with binoculars now and then. Lint visible around the cap means the line needs professional attention.
5 Vent Installation Mistakes That Raise Fire Risk
Some vents are risky by design, not by neglect. These five installation mistakes show up often in Central Oregon homes. Each one makes lint buildup faster or more dangerous. Check your own setup against this list.
1. Venting Into an Attic, Crawlspace, or Garage
Some older installations end inside the house instead of outdoors. The vent may dump into an attic, a crawlspace, or even the garage. This is unsafe and usually against code. It fills enclosed spaces with heat, moisture, and lint. Moisture feeds mold growth in attics and crawlspaces. Lint settling on wood framing is a fire hazard. Every dryer vent must terminate outdoors. If yours does not, rerouting it is urgent.
2. Screws Holding Duct Sections Together
Sheet-metal screws seem like a sturdy way to join duct sections. Inside the duct, each screw tip becomes a lint hook. Lint snags on the screw points and starts building ridges. Those ridges grow into full blockages over time. Duct sections should join with foil tape or proper fittings instead. If your duct has screws poking inside, have them replaced.
3. Runs That Are Too Long or Too Twisty
Long runs with many elbows slow the exhaust air. Slow air drops more lint along the way. Some laundry rooms sit so far from an exterior wall that the vent barely breathes. If your run is very long, shorten it when possible. Every eliminated bend helps airflow. When shortening is not possible, clean more often instead.
4. Plastic or Thin Vinyl Duct
Flexible plastic or vinyl duct is the worst common material for dryer vents. It can soften or ignite under high heat. Its ribbed interior also traps lint aggressively. If you find plastic duct behind your dryer, replace it without delay. Smooth rigid metal is the safe replacement.
5. A Missing or Broken Exterior Hood
A vent with no hood is an open invitation to pests and weather. Birds nest in open vent pipes. Rain and snow enter the duct freely. Without a flap, cold air also flows back into the laundry room. Make sure every vent ends with an intact, working hood.
Buying an older Bend home? Add a vent inspection to your checklist. Many of these mistakes hide behind drywall or in crawlspaces. Finding them early costs far less than repairing fire damage later.
What a Professional Dryer Vent Cleaning Includes
A professional dryer vent cleaning is a full-system service. It goes well beyond what a brush kit can reach. Here is what a thorough visit typically includes.
- Full vent inspection. The technician examines the entire duct run, every connection, and the exterior hood. Damaged sections, crushed spots, and unsafe materials get flagged.
- Rotary brush cleaning end to end. A powered rotary brush scrubs the full length of the duct. It reaches bends and long runs that hand brushes cannot.
- High-powered vacuum extraction. Loosened lint and debris are pulled out with commercial vacuum equipment. Nothing is left behind to re-clog the line.
- Exterior hood service. The hood gets cleaned and its flap or damper is checked for free movement. Blocked or broken hoods are a common find.
- Behind-the-dryer cleanup. Lint that has collected around and behind the appliance is removed. This hidden lint is a fire hazard in its own right.
- Airflow verification. After cleaning, airflow is tested to confirm the system breathes freely. You should notice the difference on your very next load.
- Repair recommendations. If the duct is damaged, improperly routed, or made of unsafe material, you get clear next steps. No guesswork, no pressure.
Some heat or airflow problems trace back to the appliance itself. For those cases, our dryer repair in Bend covers diagnosis and repair of the machine. Vent cleaning and appliance repair solve different halves of the same problem. Together they keep the whole drying system safe and efficient.
How to Prepare for the Visit
Preparing takes only a few minutes and helps the technician work efficiently. Clear a path to the dryer and the exterior vent hood. Move laundry baskets, cleaning supplies, and storage away from both areas. Make sure the dryer is empty and cool. If you know the vent route — through a crawlspace access or up to the roof — mention it when booking. Note any warning signs you have observed, like burning smells or slow drying. Those details help the technician focus the inspection where it matters most.
Dryer Fire-Prevention Checklist
Keep this checklist on your laundry room wall. These habits cost nothing and prevent the conditions that lead to dryer fires. Review it with everyone in the household. Teenagers doing their own laundry should know the lint-trap rule too. Renters should confirm the landlord keeps up with professional cleanings. A shared understanding keeps the whole household safer.
The two rules that matter most: clean the lint trap every time, and never leave a running dryer unattended. Those two habits alone prevent a large share of dryer-fire scenarios.
Central Oregon Factors That Affect Dryer Vents
Dryer vents clog the same way everywhere. Still, a few Central Oregon conditions make buildup faster or riskier here than in milder climates. Bend and Redmond homeowners should keep these local factors in mind.
High-Desert Dust Adds to the Load
Central Oregon’s dry, dusty air finds its way into every home. Fine dust settles in laundry rooms and around appliances. It mixes with lint behind the dryer and inside accessible duct sections. That dusty lint compacts more densely than lint alone. Keeping the laundry room itself clean — sweeping and dusting regularly — reduces what ends up in the vent system.
Wildfire Season Raises the Stakes
During wildfire season, the entire region stays alert to fire risk. A clogged dryer vent is a preventable indoor fire hazard at any time of year. When outdoor conditions are already smoky and dry, every indoor precaution matters more. Late summer is a sensible time to confirm your vent was cleaned within the past year. Think of it as part of seasonal fire awareness, alongside defensible space and working smoke alarms.
Cold Winters and Condensation in Long Runs
Bend winters bring long stretches of freezing temperatures. Warm, moist dryer air traveling through a cold duct can condense inside the line. Damp lint sticks harder and compacts into dense mats. Long vent runs through unheated crawlspaces or attics are most affected. If your vent crosses a cold space, inspect it more often in winter. Watch for musty odors too — trapped moisture can encourage mildew inside the duct.
Two-Story Homes and Upstairs Laundry Rooms
Many newer Bend homes place the laundry room upstairs. Those vents often run long distances and terminate through the roof. Long upward runs are the hardest vent configuration to keep clean. They collect lint faster and resist DIY cleaning completely. If your laundry room is on the second floor, treat professional cleaning as essential rather than optional. Keep it on the six-month schedule.
Dryer Vent Cleaning: DIY or Professional?
Both have their place. Use this table to decide what to handle yourself and what to hand to a technician.
| Task | DIY Suitability | Professional Help |
|---|---|---|
| Clean the lint trap after every load | Yes — essential habit | Not needed |
| Clear the exterior vent hood | Yes — quick monthly check | Not needed |
| Brush short, accessible duct runs | Yes, with a vent brush kit | Not needed |
| Clean long runs with multiple bends | Difficult to reach fully | Yes — rotary equipment |
| Clean roof-terminated vents | No — unsafe to attempt | Yes |
| Remove years of compacted buildup | Brush kits often cannot | Yes |
| Inspect and upgrade duct material | Visual check only | Yes — proper rerouting |
| Verify airflow after cleaning | Basic hood check | Yes — tested and confirmed |
The practical split: own the habits and the easy checks; hire out the deep duct. Annual professional cleaning plus your own routine between visits covers the entire system with no gaps.
When to Call a Dryer Vent Technician
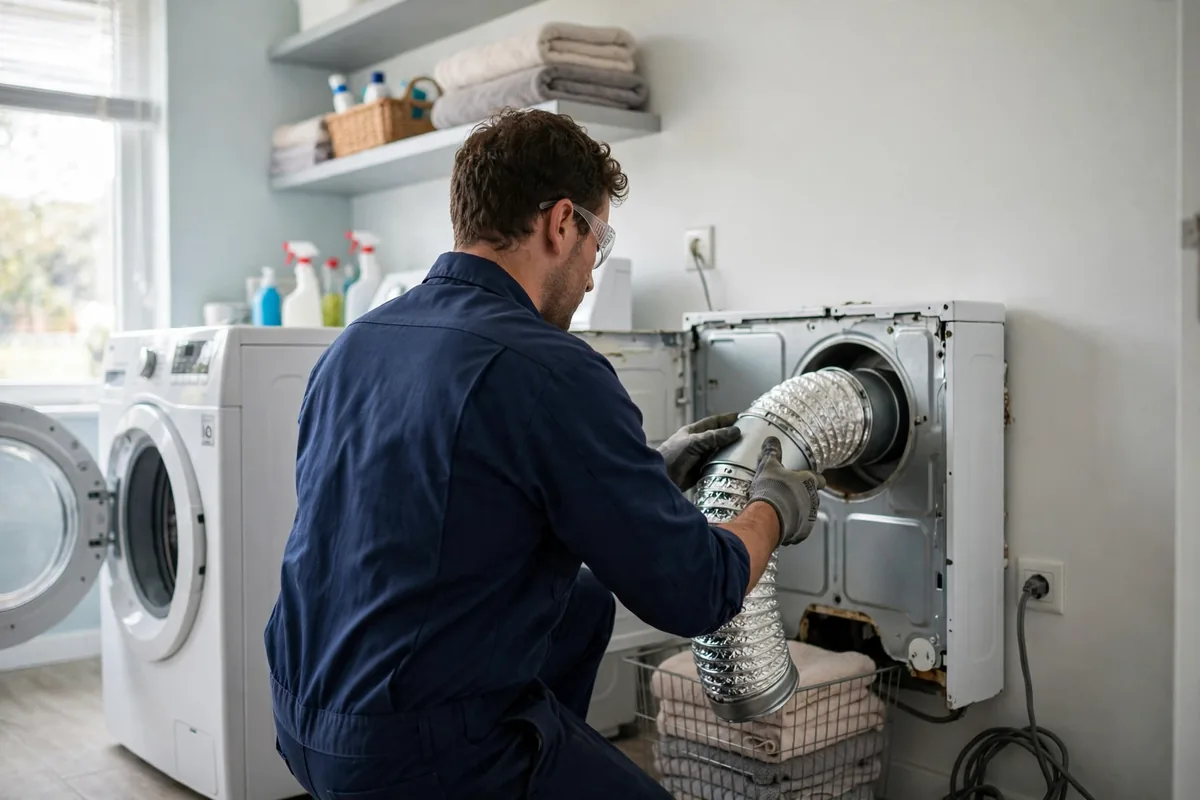
Call a technician right away if you notice any of these situations. They go beyond routine maintenance. Trust your senses on this one. If something smells wrong or feels too hot, it is wrong. A service call costs far less than fire damage.
- A burning smell during any cycle. Stop the dryer and do not restart it until the vent is inspected.
- Drying is still slow after your own cleaning. The blockage is deeper than a brush kit can reach.
- Your vent terminates through the roof. Roof vents need professional equipment and safe roof access.
- The vent has not been cleaned in years — or ever. Years of buildup often need rotary tools to remove.
- You find damaged, crushed, or disconnected duct. Damaged ductwork should be repaired or replaced, not just cleaned.
- The duct is flexible foil or plastic. A technician can upgrade it to rigid metal for lasting safety.
- You are buying or selling a home. An unknown vent history deserves a professional inspection before closing.
Long-term overheating can damage the dryer itself. Warning signs include repeated shutdowns, scorch marks, or failed components. Our dryer repair in Bend can assess the appliance in that case. A vent cleaning solves the cause. Appliance repair fixes any damage the heat already did.
Frequently Asked Questions About Dryer Vent Cleaning
How often should I schedule dryer vent cleaning?
Once a year works for most homes. Book every six months if you have shedding pets, run multiple loads daily, or have a long vent run. Clean the lint trap after every load regardless of schedule.
Can I clean my dryer vent myself?
Yes, for the accessible parts. A vent brush kit and a vacuum handle short, straight runs well. Always unplug the dryer first, and shut off the gas supply for gas models. Leave long runs, roof vents, and heavy buildup to a professional.
Is a clogged dryer vent really a fire hazard?
Yes. Lint is highly flammable, and a clogged vent traps heat around it. Fire-safety experts list uncleaned vents among the leading causes of dryer fires. Regular cleaning removes both the fuel and the trapped heat.
What are the warning signs of a clogged dryer vent?
Clothes needing extra cycles, a very hot dryer cabinet, and a burning smell are the big three. Weak airflow at the outside hood also points to a clog. So do lint around the laundry room and mid-cycle shutdowns.
How long does a professional vent cleaning take?
Most standard homes take under an hour. Vents that have not been cleaned in years take longer because the buildup is denser. Roof-terminated and very long runs also add time.
Will vent cleaning lower my energy bills?
A clear vent usually shortens dry times, so the dryer runs fewer cycles per load. Shorter cycles use less energy over the month. The savings grow with how restricted the vent was before cleaning.
Should I replace flexible foil duct with rigid metal?
Yes. Smooth rigid metal duct resists lint buildup far better than ribbed flexible foil. Foil duct also sags and kinks, which creates lint traps. Upgrading to rigid metal is one of the best safety improvements you can make.
My dryer vent runs up through the roof. Is that a problem?
It is common in two-story homes, and it works fine when maintained. Roof vents are harder to inspect and cannot be cleaned safely yourself. Schedule professional cleaning and watch the roof cap for visible lint between visits.
Dryer Vent Cleaning in Bend and Redmond, OR
A clean dryer vent is one of the simplest ways to protect your home from fire. If your vent has not been cleaned in the past year, now is the right time to schedule it. The same applies if you have noticed any warning signs in this guide.
We serve homeowners throughout Bend. That includes Northwest Crossing, Awbrey Butte, Boyd Acres, Larkspur, and River West. It also includes Mountain View, Summit West, Orchard District, and Southern Crossing. We also cover appliance repair in Redmond, Oregon and surrounding Central Oregon communities. Mention what you have noticed. Slow drying, heat, or odor all help us focus the visit. We will make sure the vent gets the attention it needs.
Final Takeaway
Dryer vent cleaning is fire prevention, not just housekeeping. Clean the lint trap after every load. Check the exterior hood regularly. Run the DIY routine a few times a year. Book professional cleaning annually — every six months for heavy use, pets, or long vent runs.
Warning signs are your dryer asking for help. Heat, burning smells, and slow drying all point to restricted airflow. Act on them promptly and never run a suspect dryer unattended. A clean vent keeps your home safer, your dryer healthier, and your laundry day shorter.
Worried About Your Dryer Vent?
Does your dryer run hot or smell like burning? Does it take two cycles to finish a load? Your vent likely needs professional cleaning. Our technicians clear the full duct run. They check every connection and verify strong airflow. You get a clear, upfront estimate before any work begins.